Around the time I was brainstorming how I could stylistically distinguish the fantasy sequence, I saw "Inspiring Walt Disney: The Animation of French Decorative Arts" at the Met which showcased the creative process and inspirations behind some of the classic 2D Disney productions. As these were mostly relics of a time before CGI, the exhibition offered a peek into the laborious Behind The Scenes - such as a 240+ frames pencil test of the iconic transformation in Cinderella that was more or less 15 seconds. What stood out to me though was the multi-plane animation technique Disney so proudly presented as a “state of the art technology” in a vintage footage. Once I saw this process was a thing, I just had to try it.
Here was the game plan for my DIY multi-plane animation: Shooting with an overhead camera on a make-shift multi-plane structure, I would have my character animation in the mid-level plane, background elements in the lowest plane, and foreground elements in the highest plane closest to the camera. I would swap out the transparent films which have the character animation painted frame by frame, all the while moving the background/foreground on other planes incrementally to make it look like the characters are passing through the environment. To make this fantasy sequence as texturally rich as possible, I decided to paint the characters in gouache, make the environment elements in clay, and have the backdrop gradient rendered in soft pastel.
As a first time stop motion production, my main objective was to keep it simple and execute it well. I say this because as I was brainstorming, I was tempted to incorporate crazy transitions that could really take advantage of the materiality of clay. Instead, I stuck to simple cuts and used character movements - which I would have the most control over - to motivate transitions. Trust me, I thanked myself for this later.
01. CHARACTER ANIMATION
The first step was to do an animation test with a rough pass of the character animation and the background/foreground elements. Because there would be practically no room for revision further down in the process, it was important I locked in the character animation at this stage.
02. CREATING TEMPLATES & GUIDES
I exported the rough pass into a JPEG sequence, which I then placed on a TEMPLATE I made in InDesign. Because I was mostly using Letter-size transparent films to paint the character animation, the JPEGs were printed as 11-inch wide images in a 16:9 ratio.
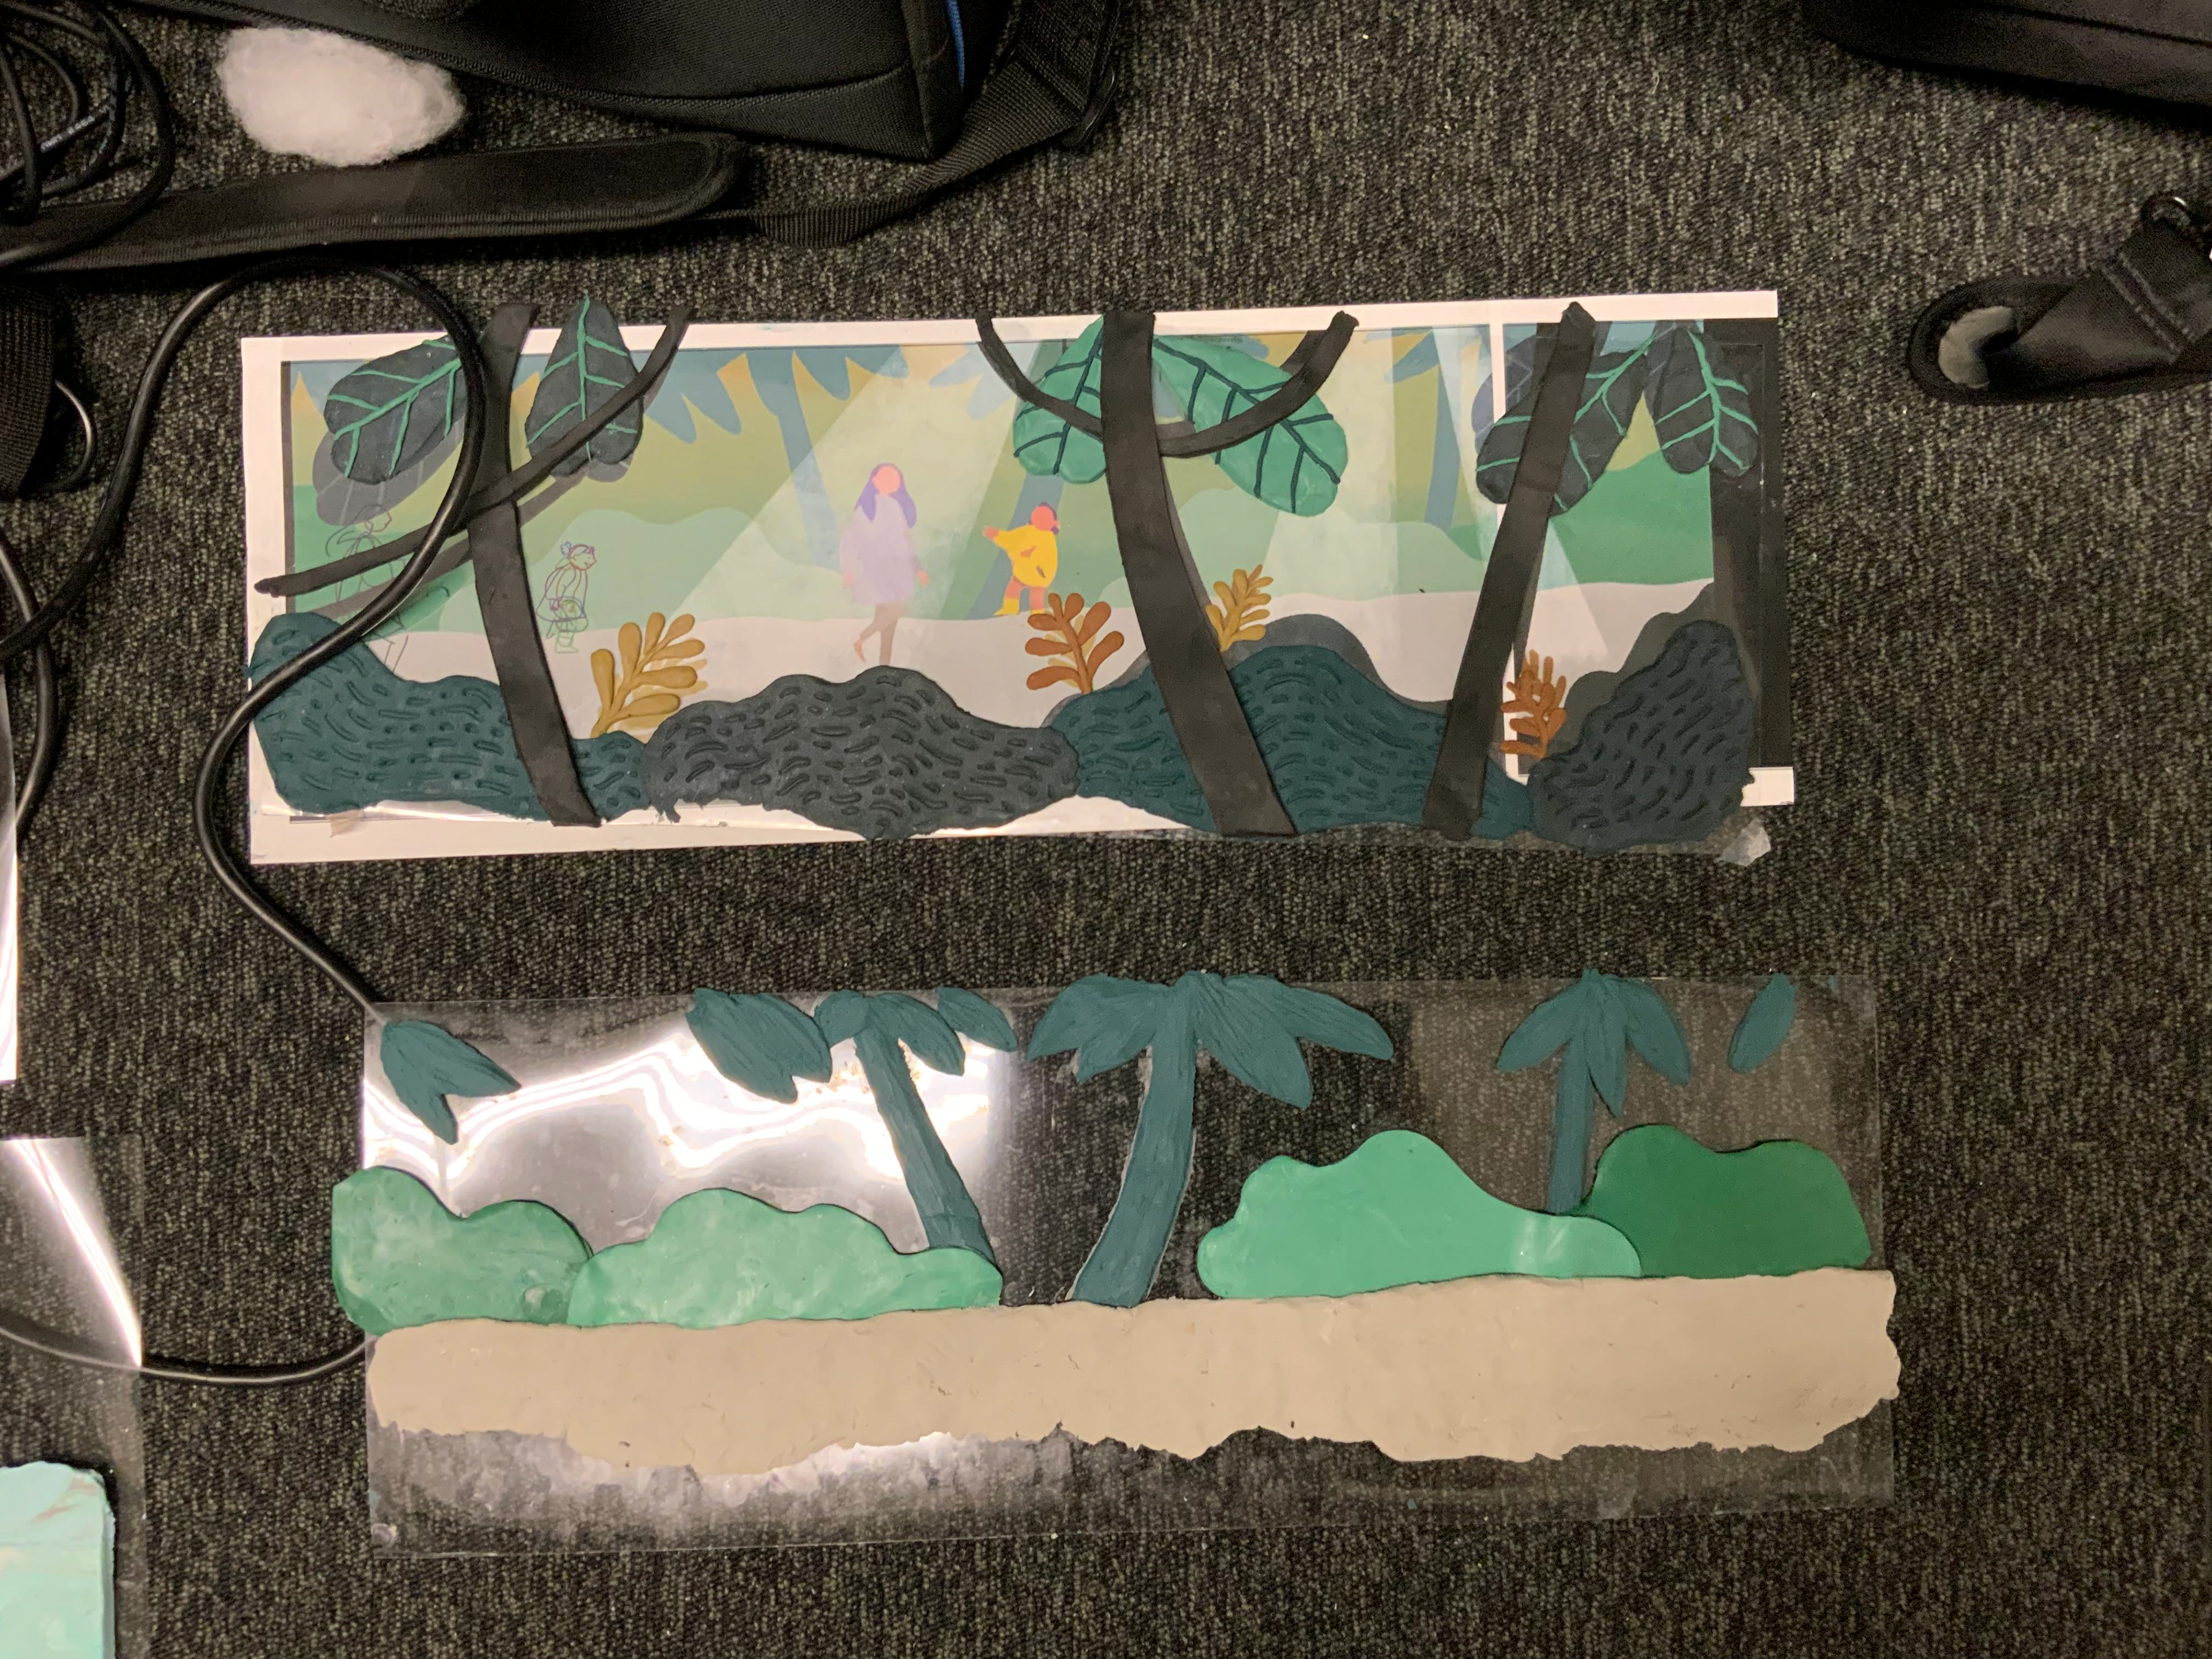
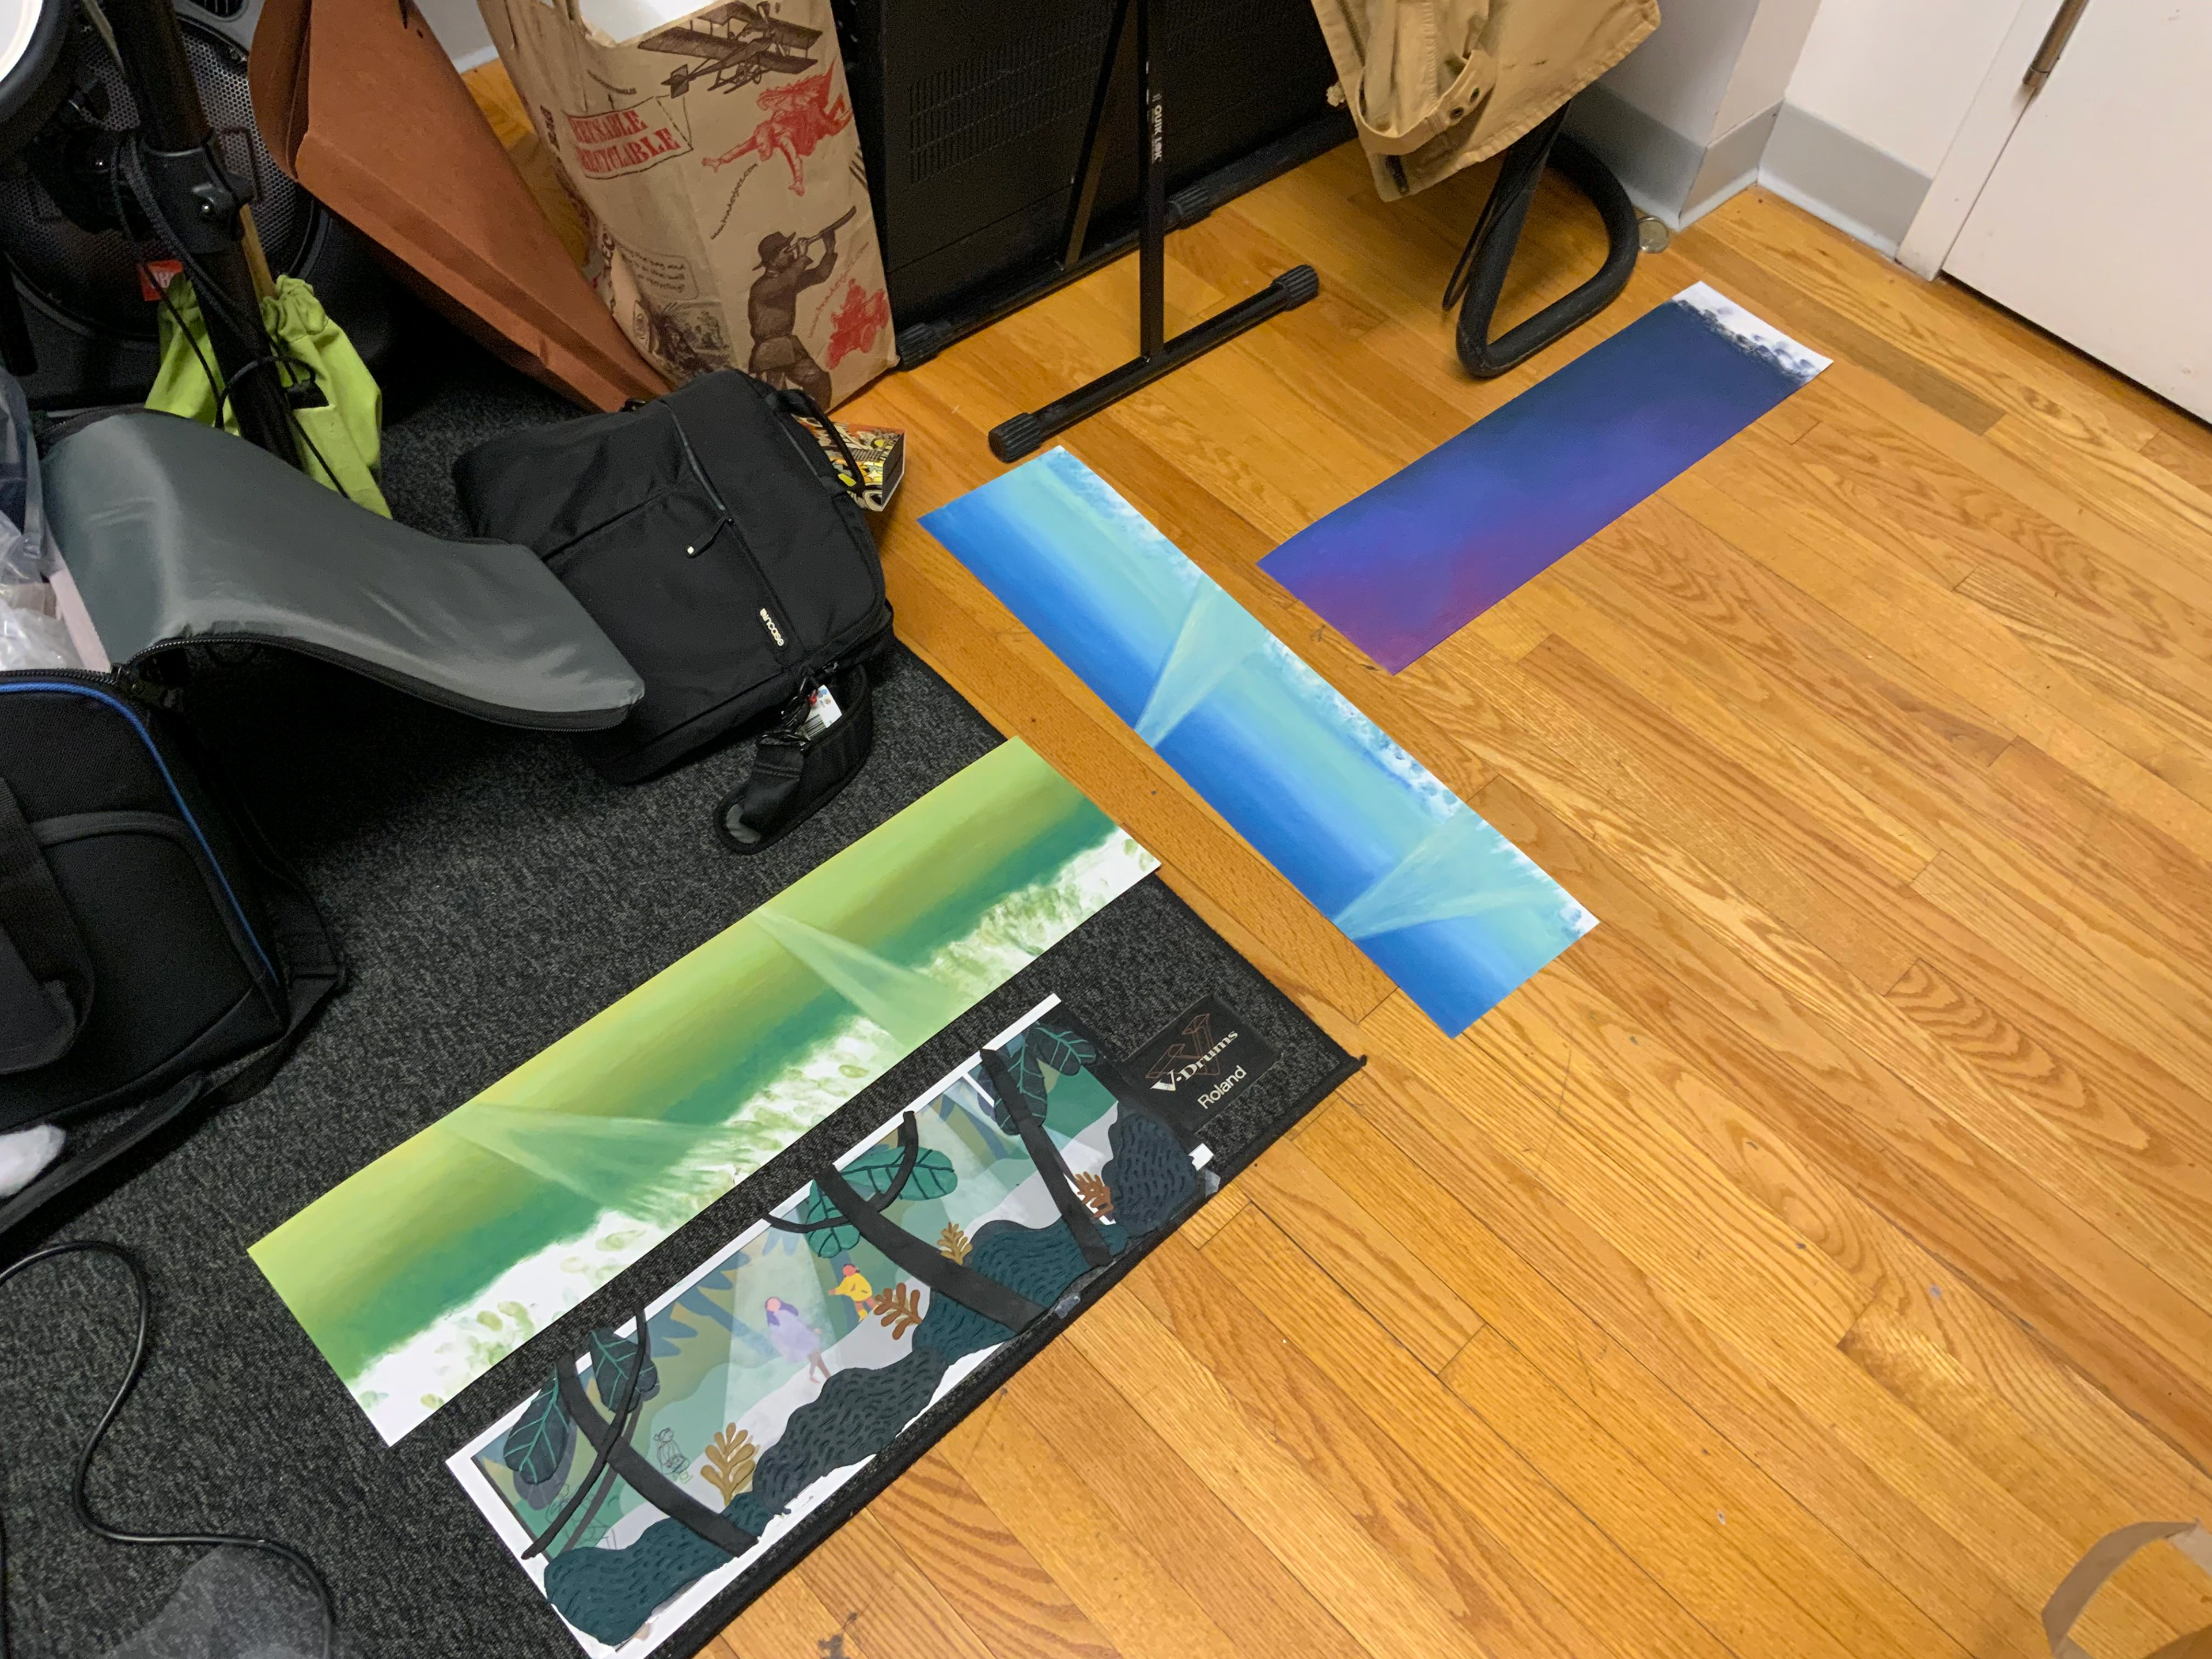
I printed out the full dimensions of the different environments that I would be moving horizontally in the production. These were going to be my blueprints for creating the clay elements.

03. PAINTING THE FRAMES
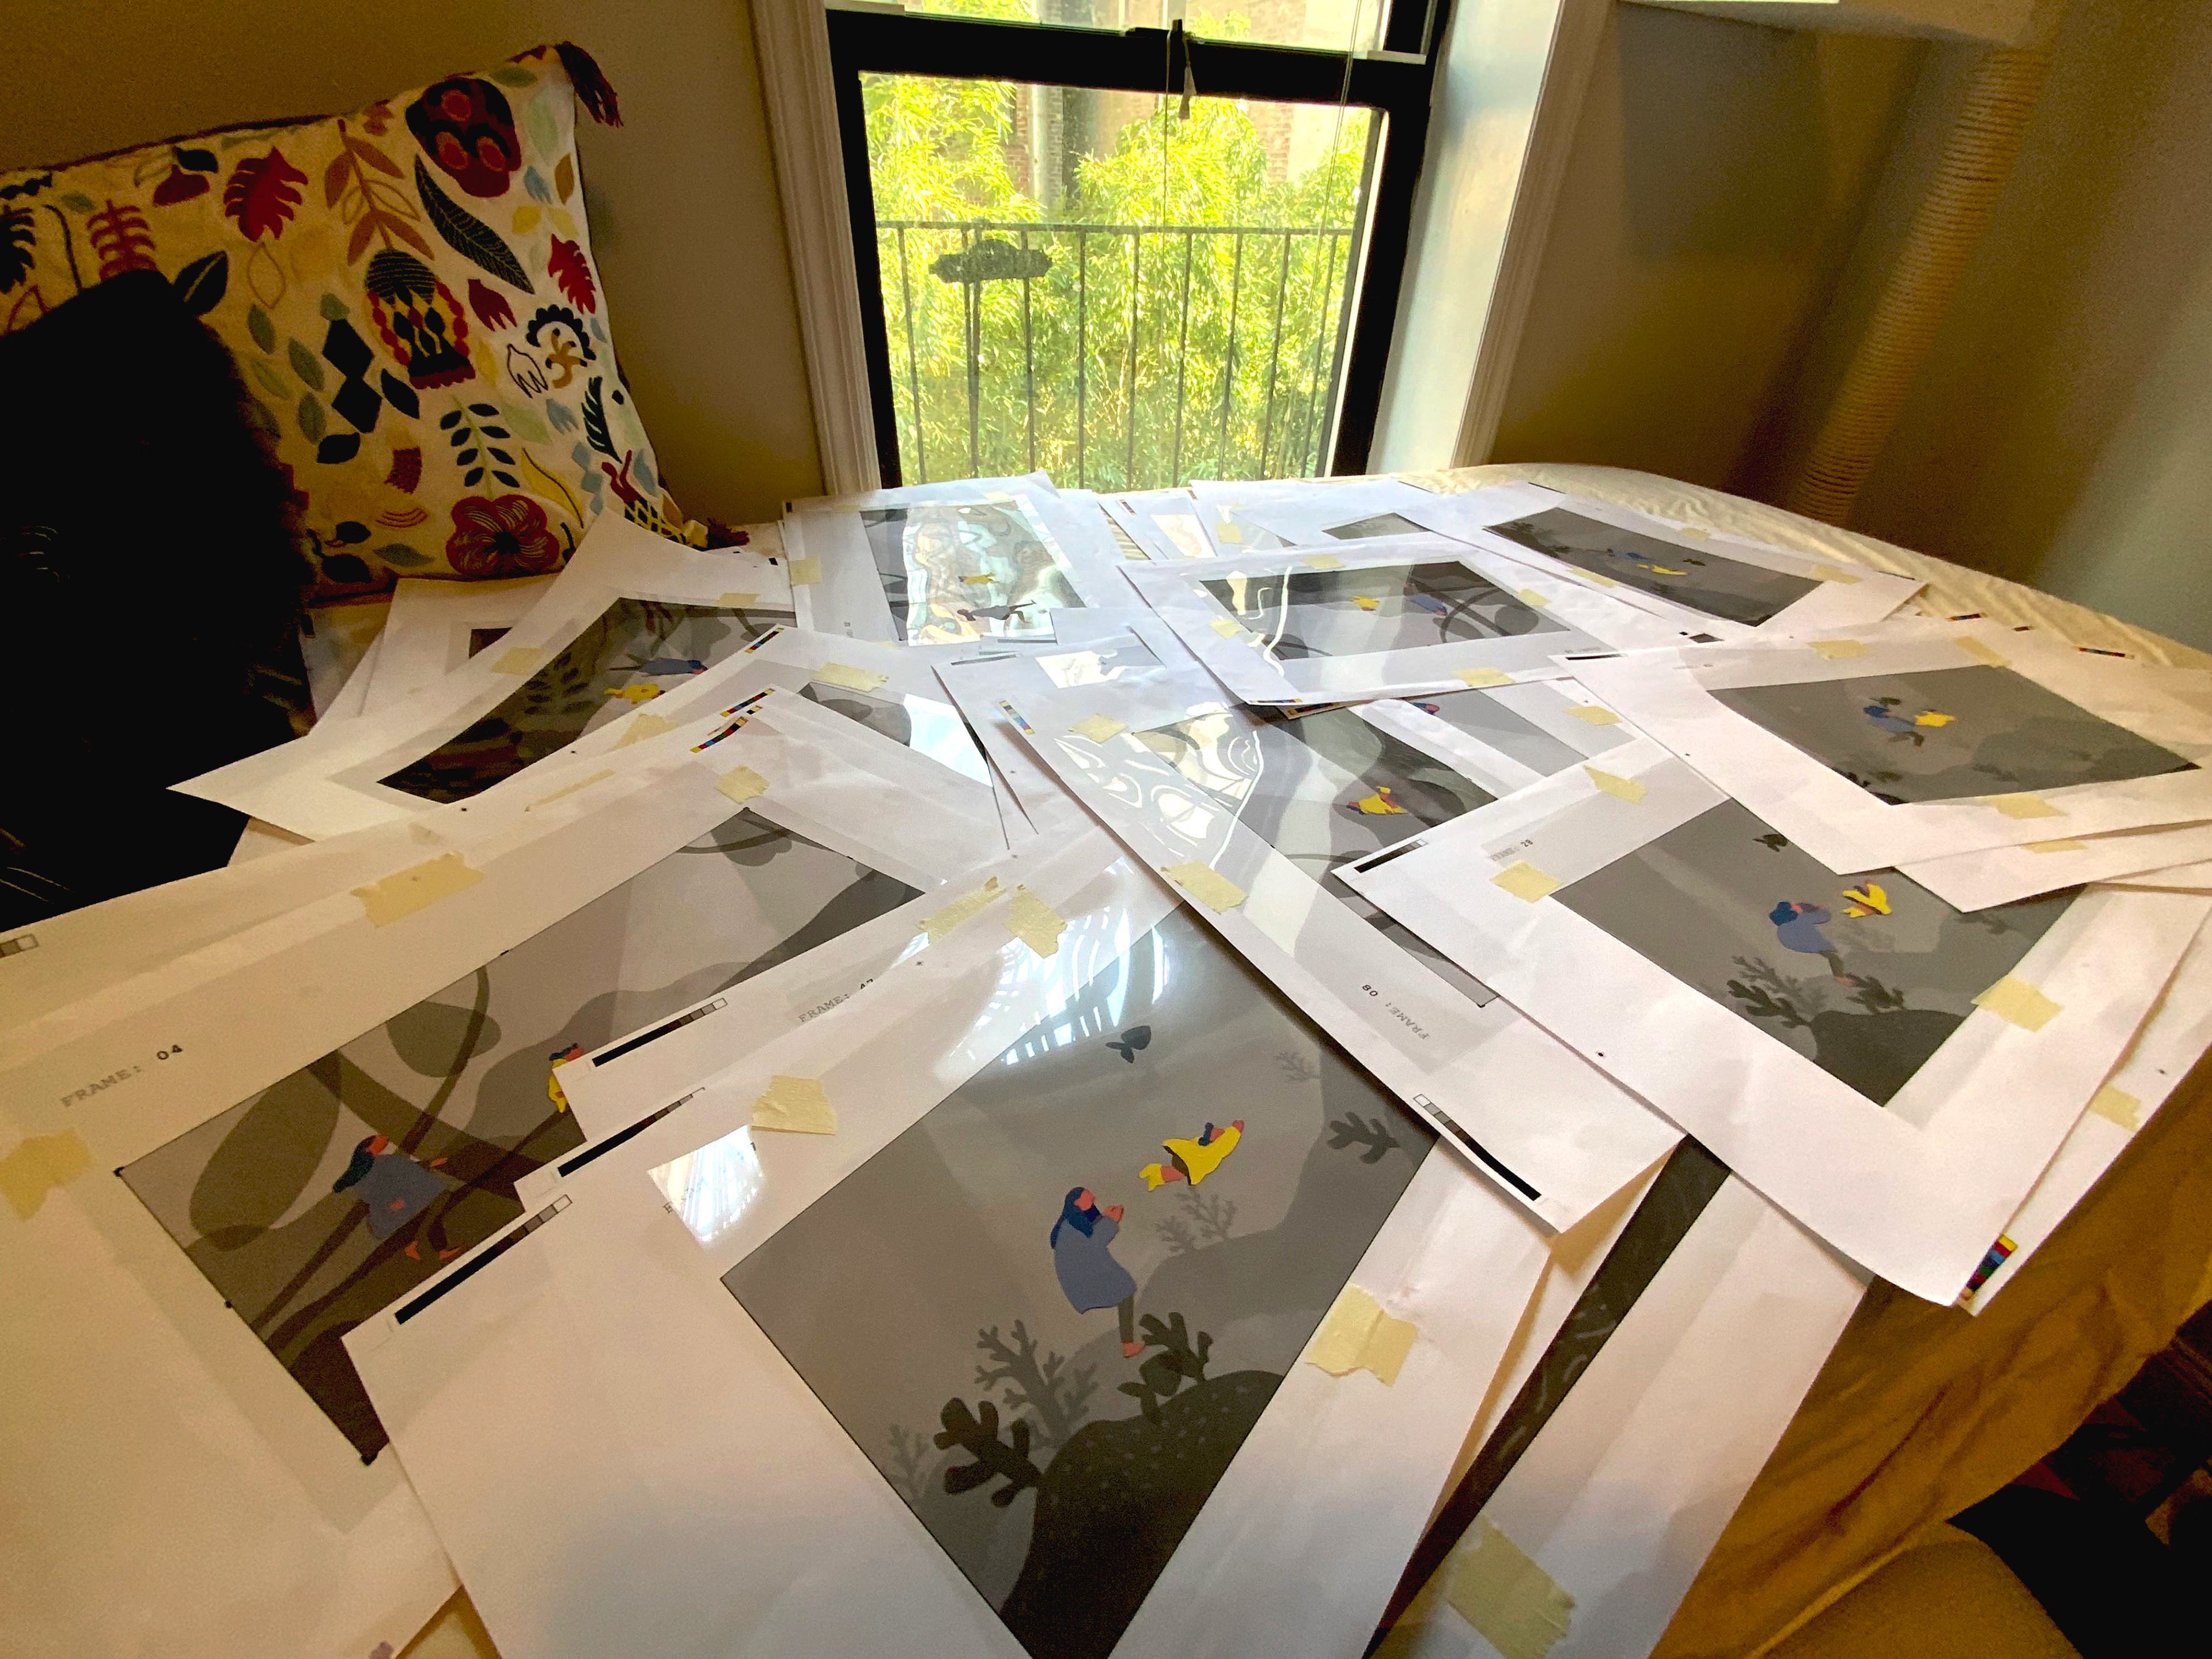
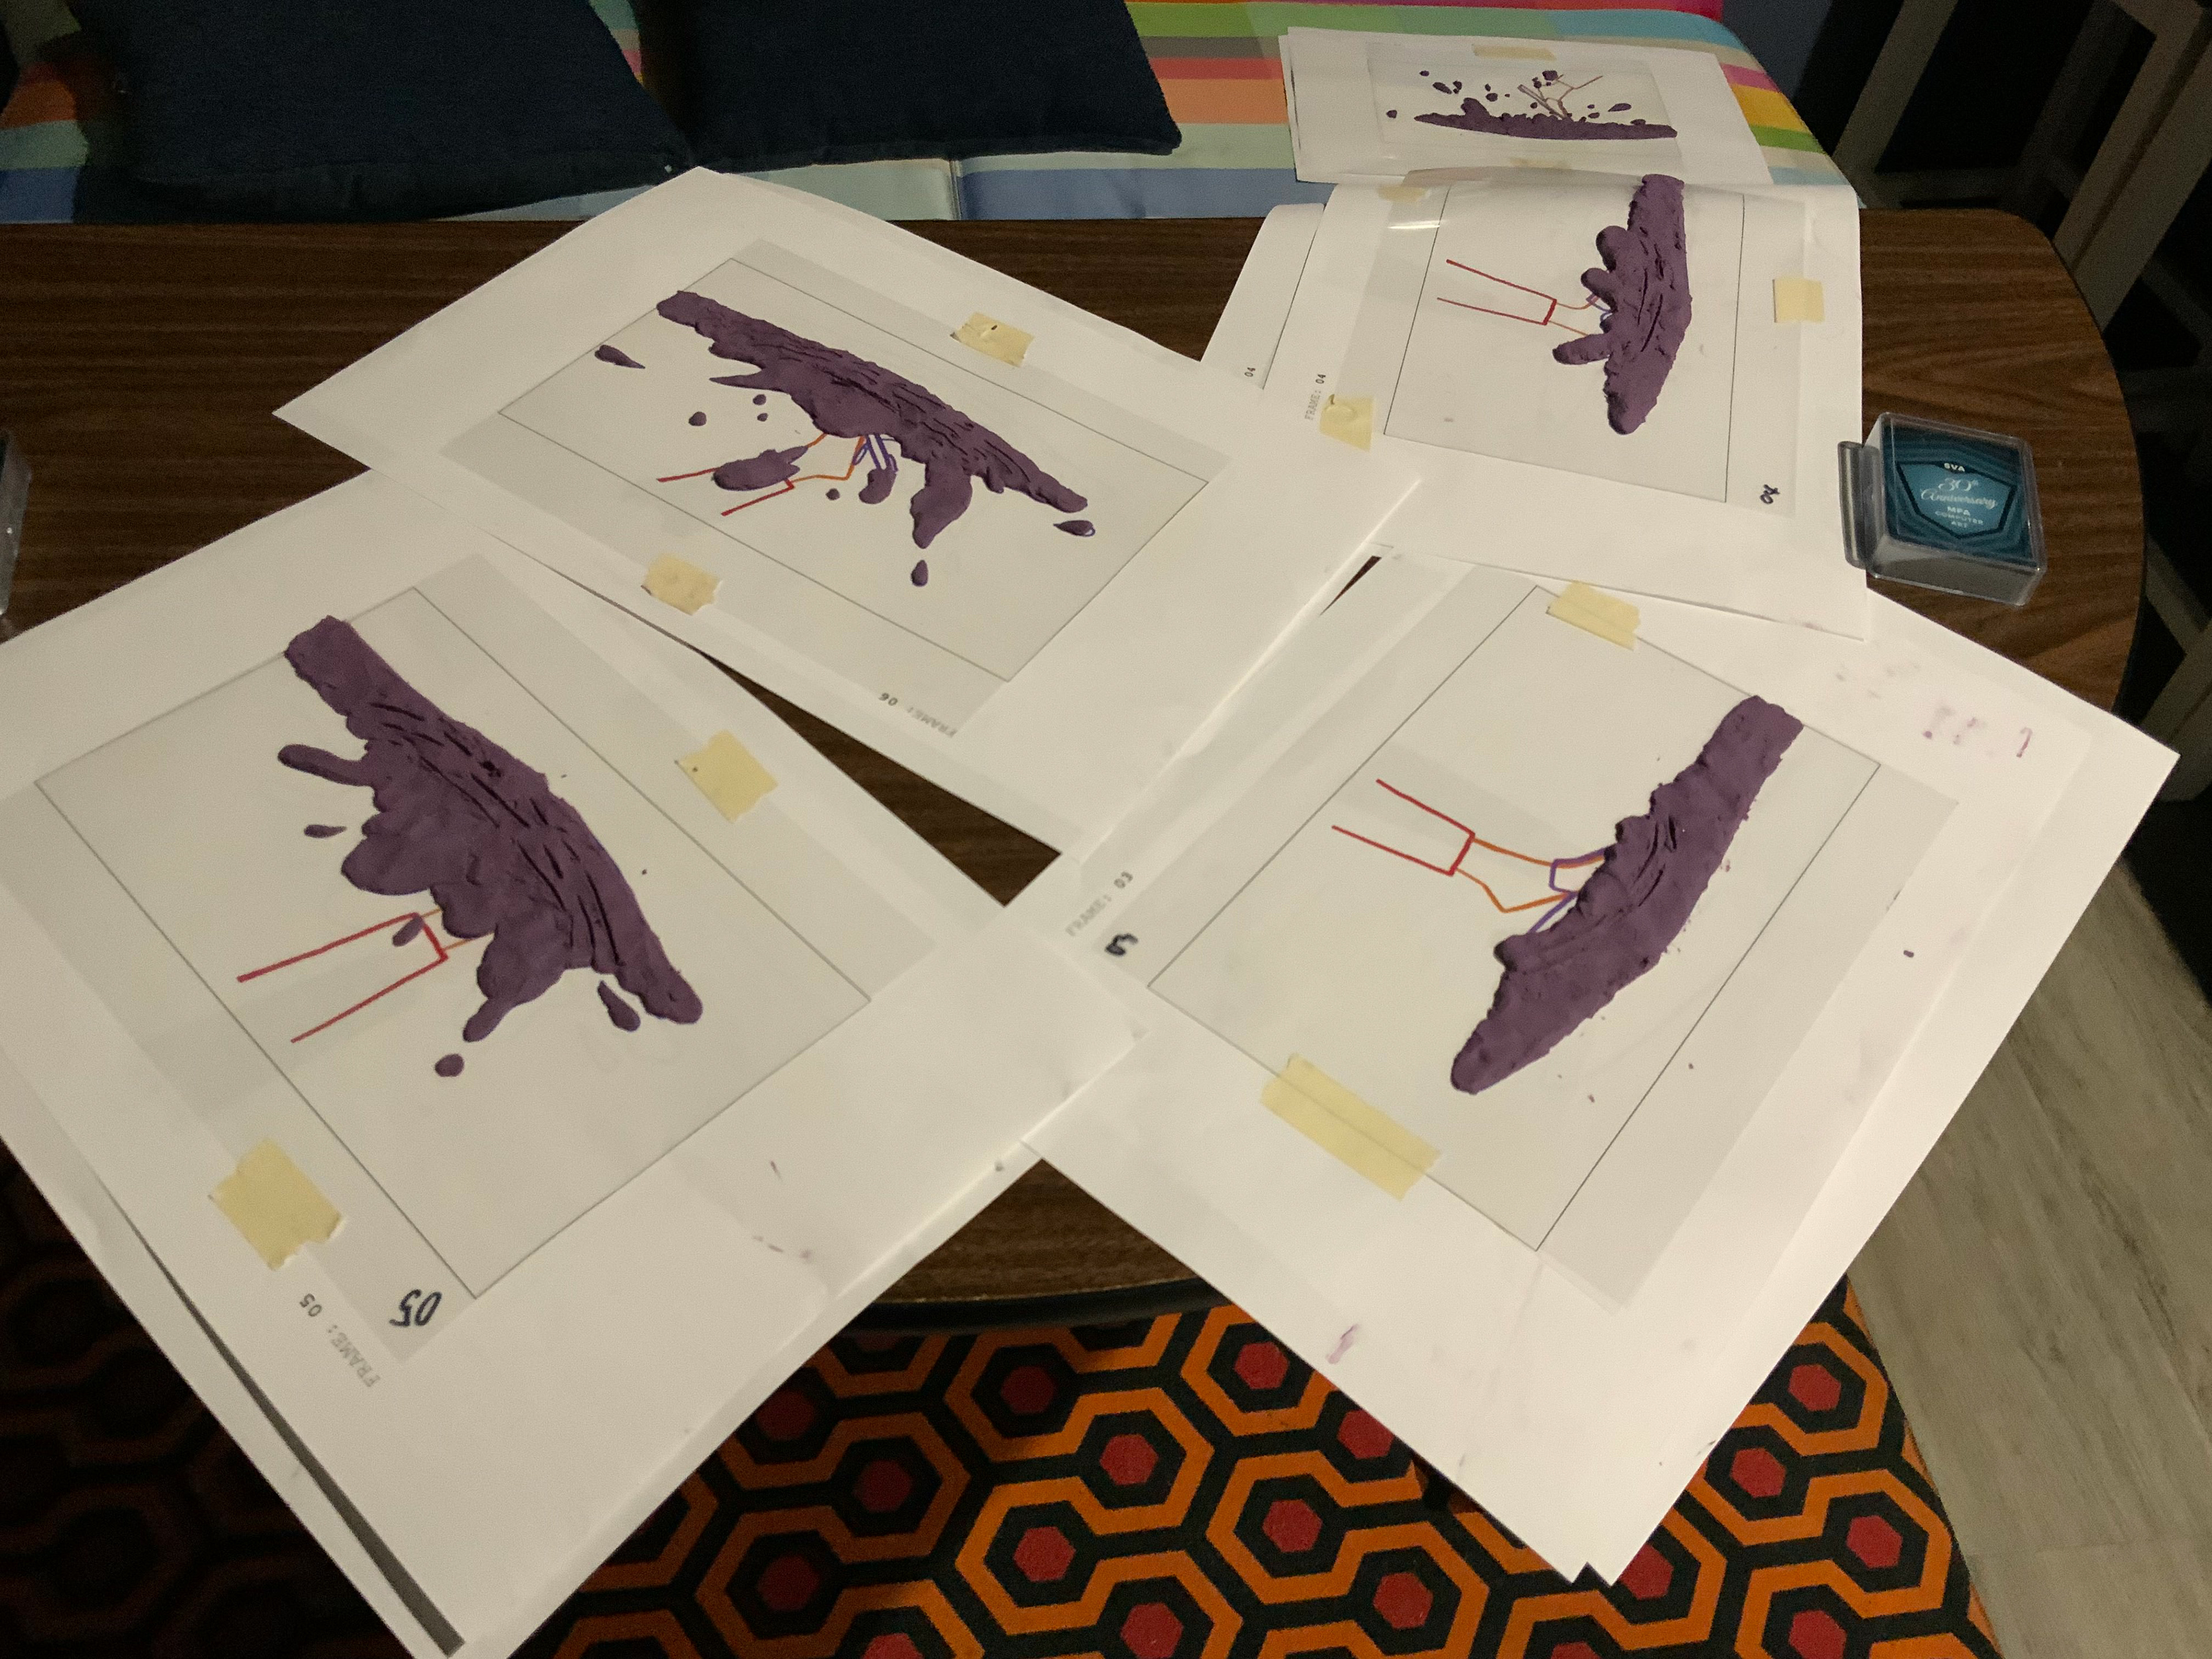
I painted the character animation frame by frame by tracing the guide I made in STEP 02. The part I very much thanked myself for later in filming the animation was that I labeled the frames and made registration marks around the edges.
After I was done painting, I taped the frames to the respective guides with masking tape. This ended up making it easy to carry and organize all the frames, as well as protecting the frames from sticking and scraping off one another.
Instead of working on one frame to a finish at a time, I made one color and worked through a batch, made the next color and worked through the batch, and so on. I felt a part of working with gouache is that you are always praying to the gouache gods to give you more time before it dries out so it was more efficient to get through the paint first while in its best condition rather than mixing a new set of colors for each frame. I also discovered "wet palettes" in the process (the yellow sheet in the video below), which I feel like helped with delaying the gouache from drying out in 10 seconds??? Might be just a placebo.
The total came out to be 94 frames and took me multiple 10-hour sessions. Obviously, my process accelerated towards the end as I got more comfortable and efficient - but boy, I listened to several audio books during this process.
A quick side note: at first glance, it doesn’t even look like the characters have THAT many colors, but if you consider how all the different shades of the same hue need to be painted separately, the number of colors easily racks up. I saw in one of the Disney documentaries about how they used to have separate color-mixing people (I'm sure they have a much more professional name for them) whose only job was to mix colors so that they remain consistent through multiple working sessions. Mind you - for their productions, each character had dozens of colors PER FRAME. Animation was just born in deep masochism.
Animation test after all the frames were painted!
04. GEARING UP
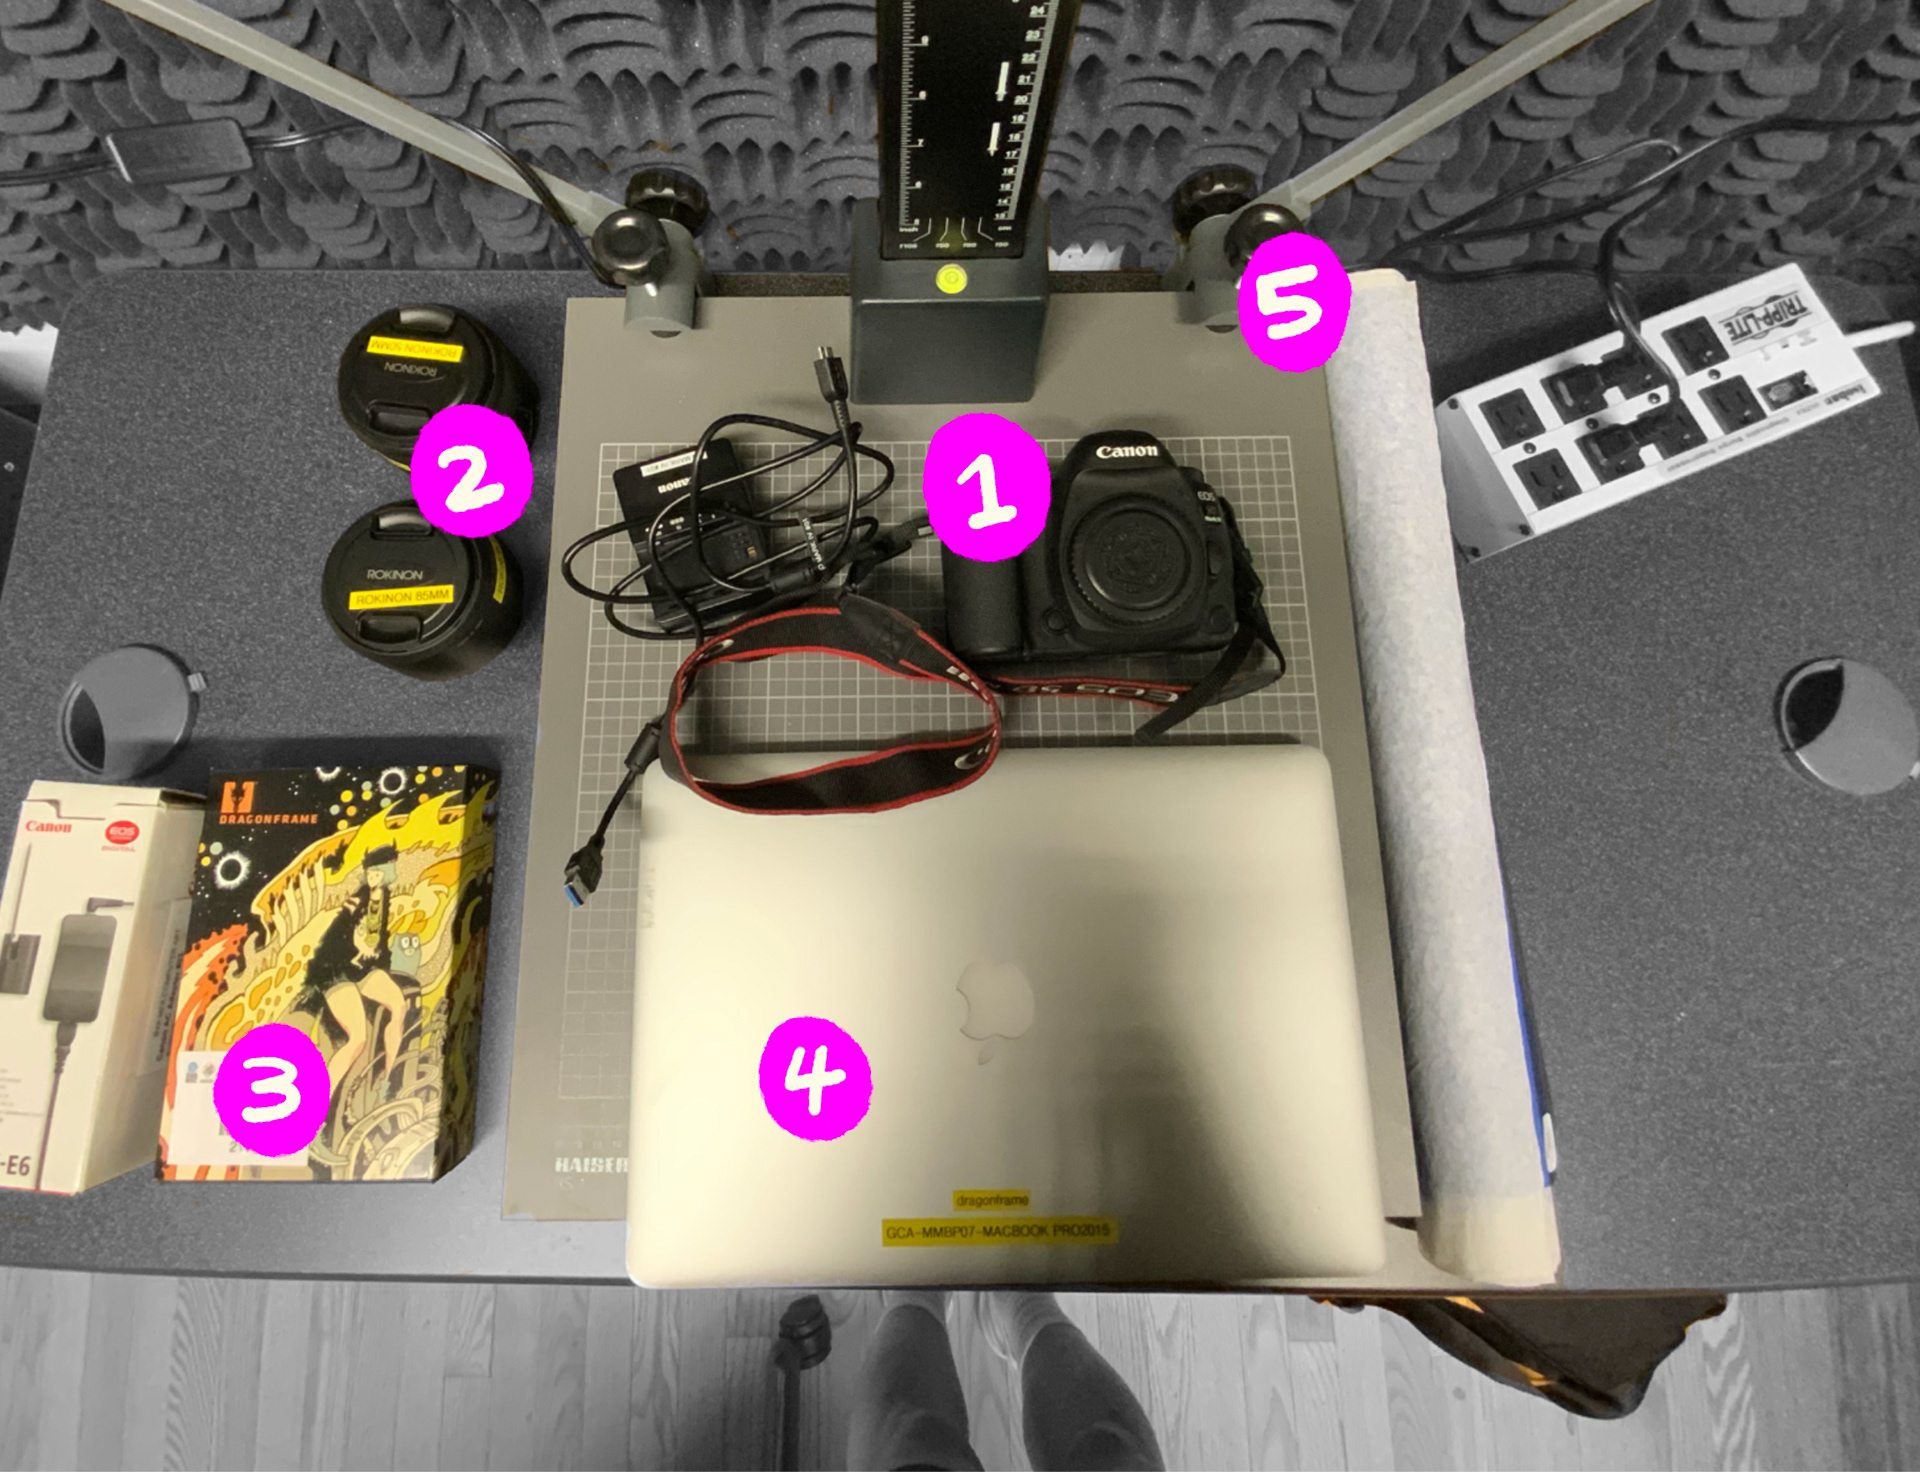
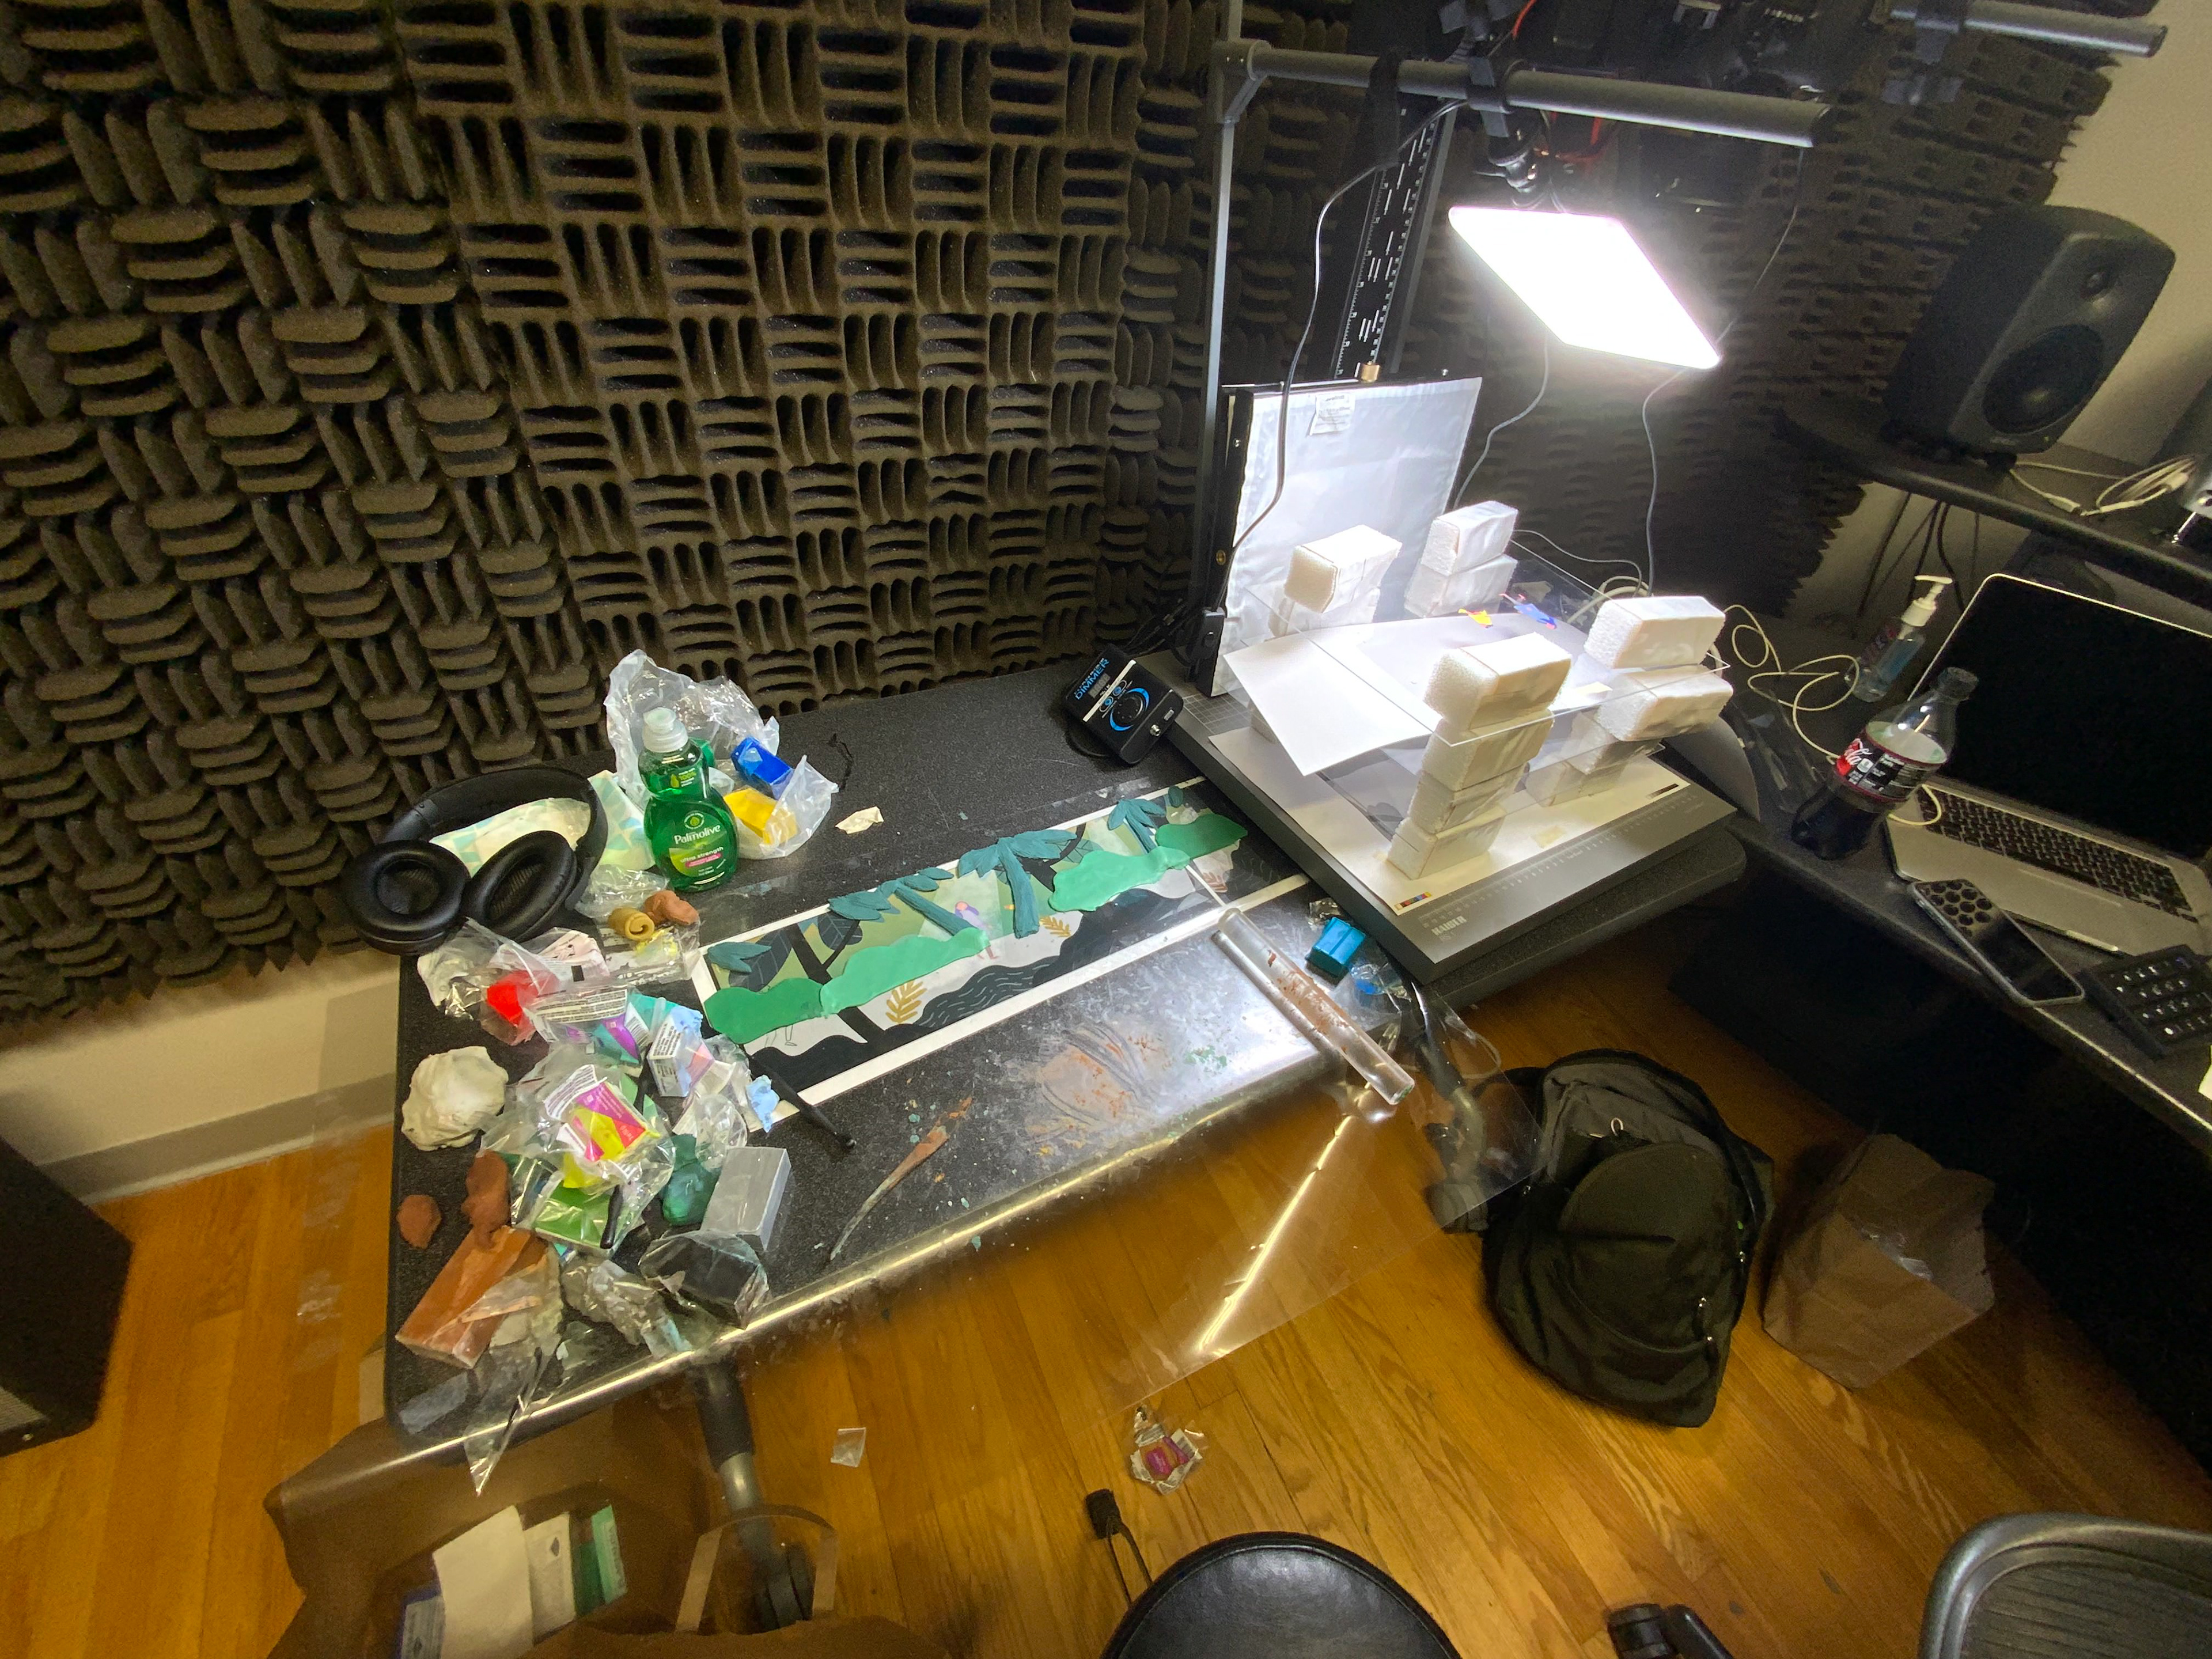
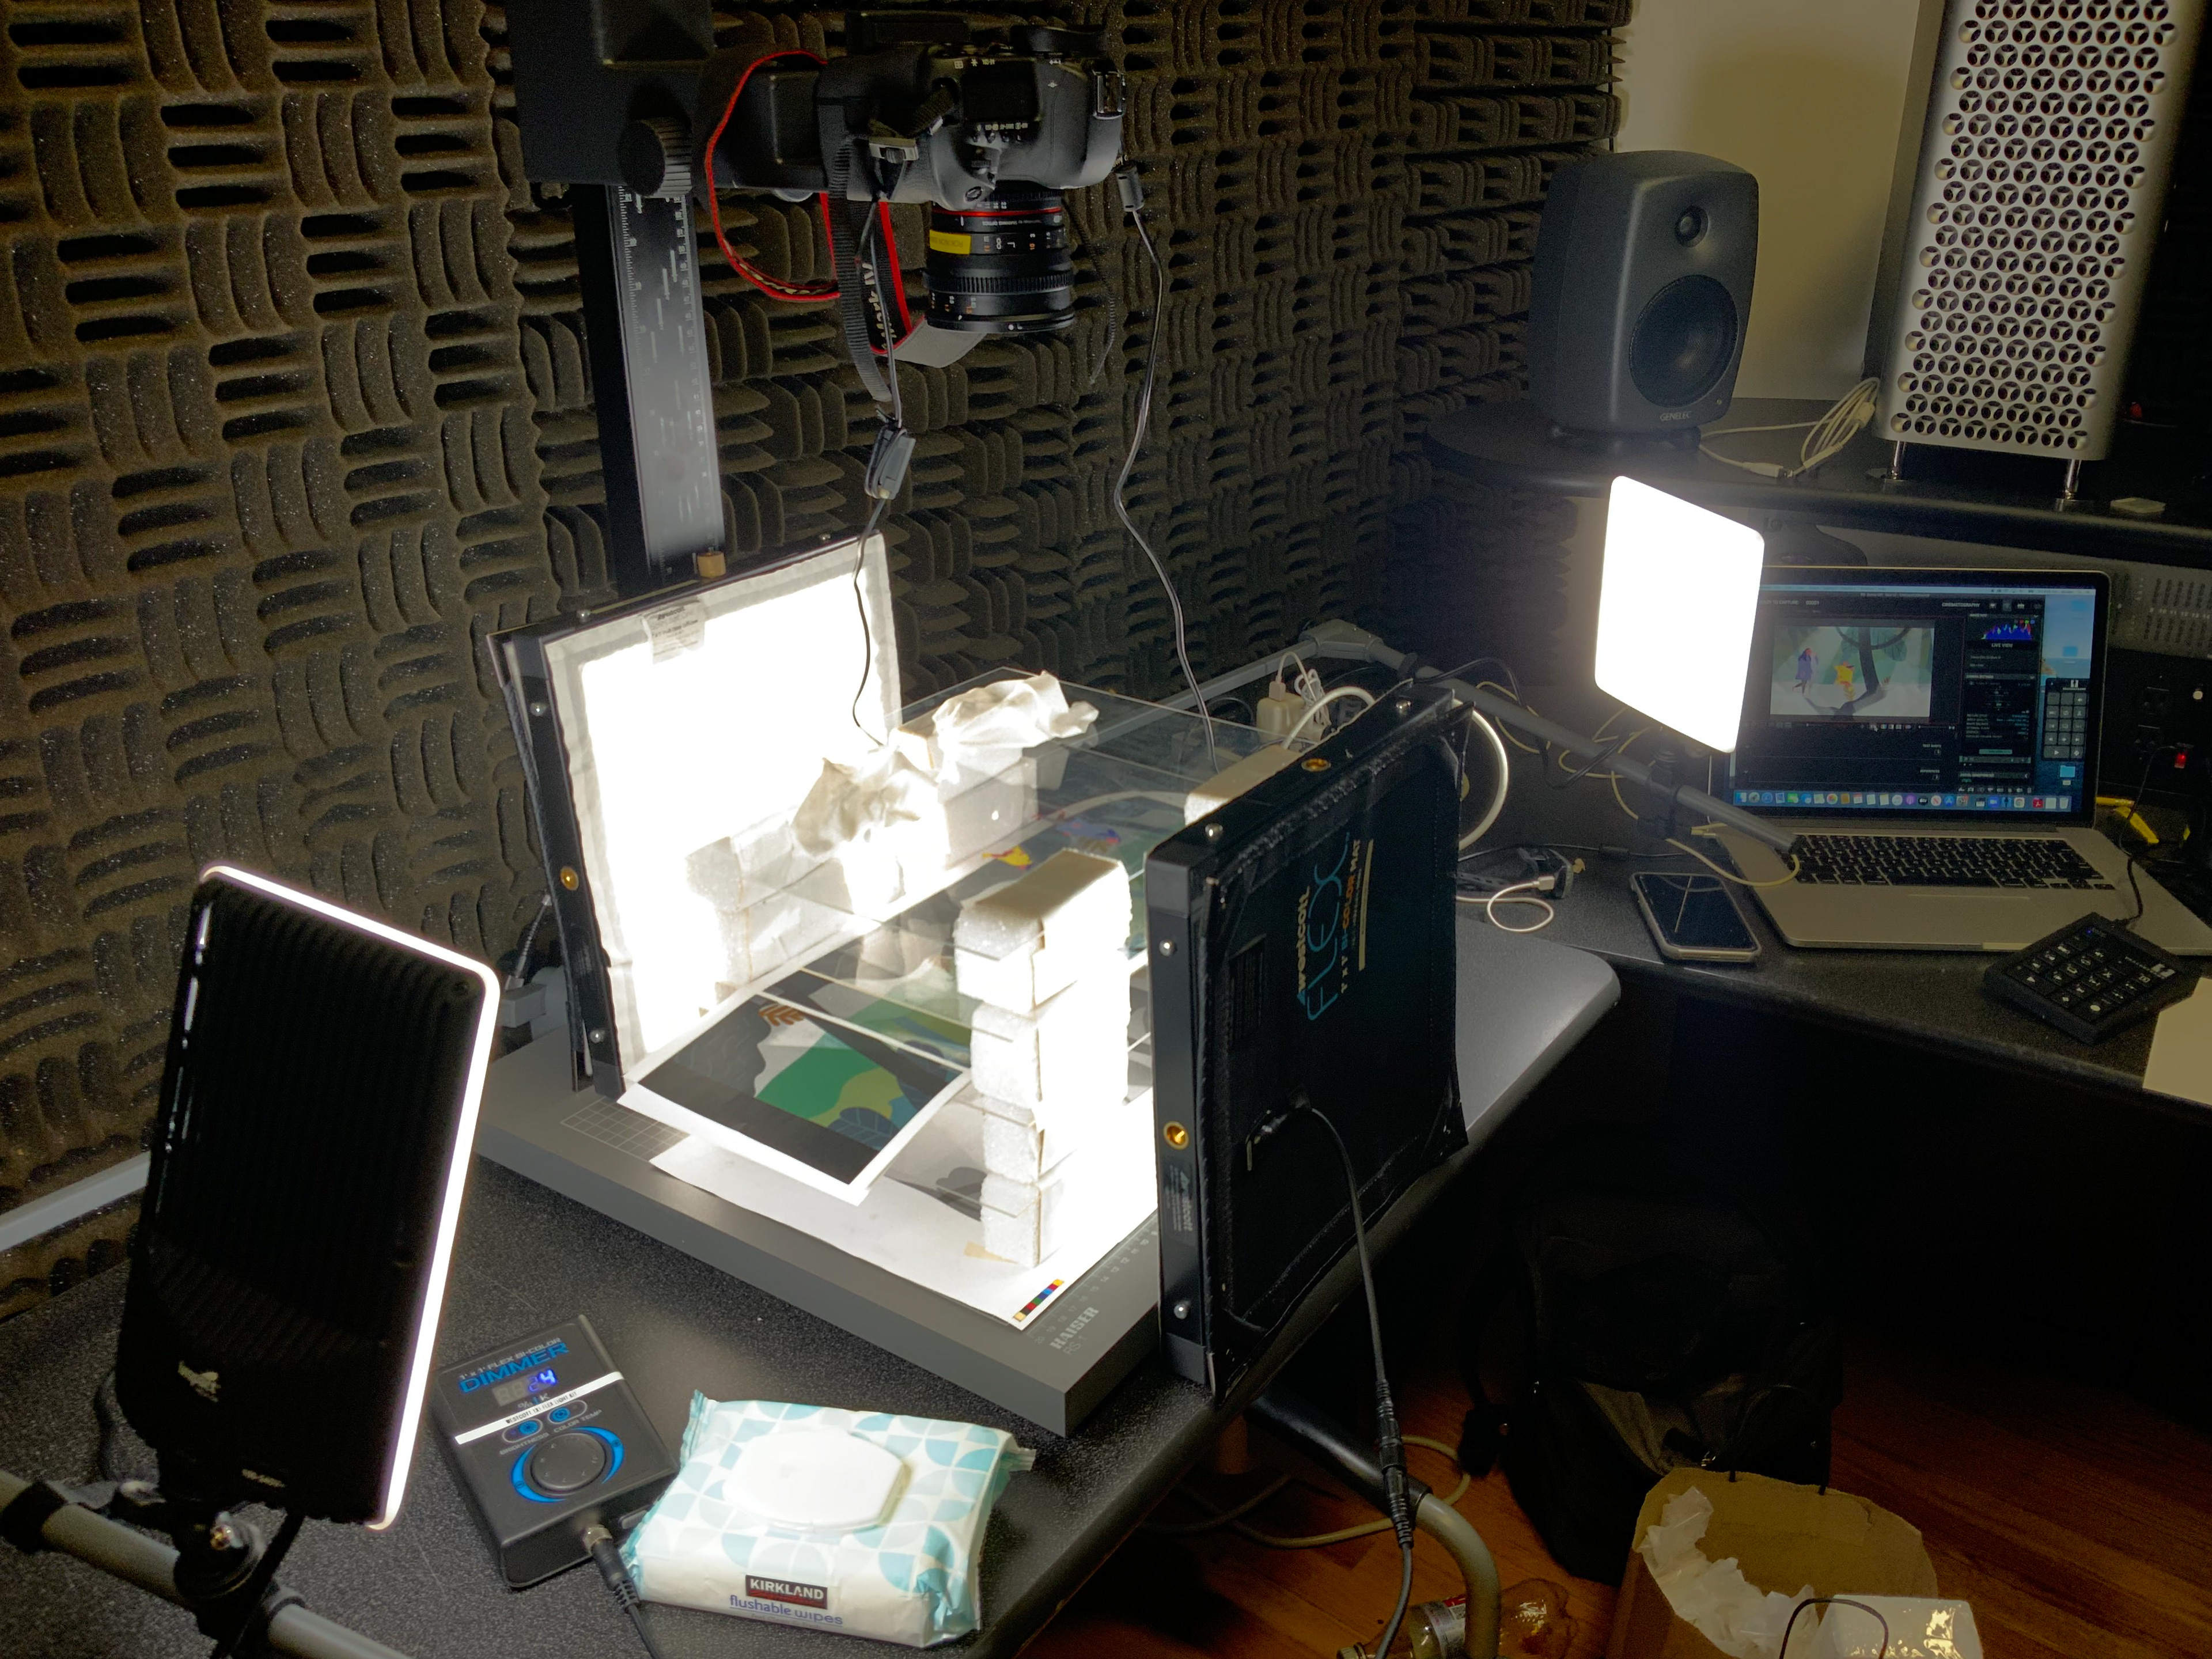
Once I had all the frames ready, it was time to shoot the actual stop motion. I rented out a room in my school for the weekend along with all the necessary equipment. I was SUPER fortunate our school had JUST gotten an Overhead Camera Rig (I think that’s’ what it’s called?) and I was basically going to be the first one to use it?! Our school faculty was generous with their time, walking me through Fancy Camera 101 (I don’t know two things about DSLRs), the overhead rig, and Dragonframe (a revolutionary software I did not know existed until this project). Here’s the list of equipment I used for shooting:
01 Canon 5D Mark IV
02 Rokinon 85mm Lens & 50mm Lens
03 Dragonframe Keypad
04 Laptop with Dragonframe installed
05 Overhead Camera Mount (Not sure what this is called)
06 Westcott 1x1 flex light kit (Still in the bag in the picture)
02 Rokinon 85mm Lens & 50mm Lens
03 Dragonframe Keypad
04 Laptop with Dragonframe installed
05 Overhead Camera Mount (Not sure what this is called)
06 Westcott 1x1 flex light kit (Still in the bag in the picture)
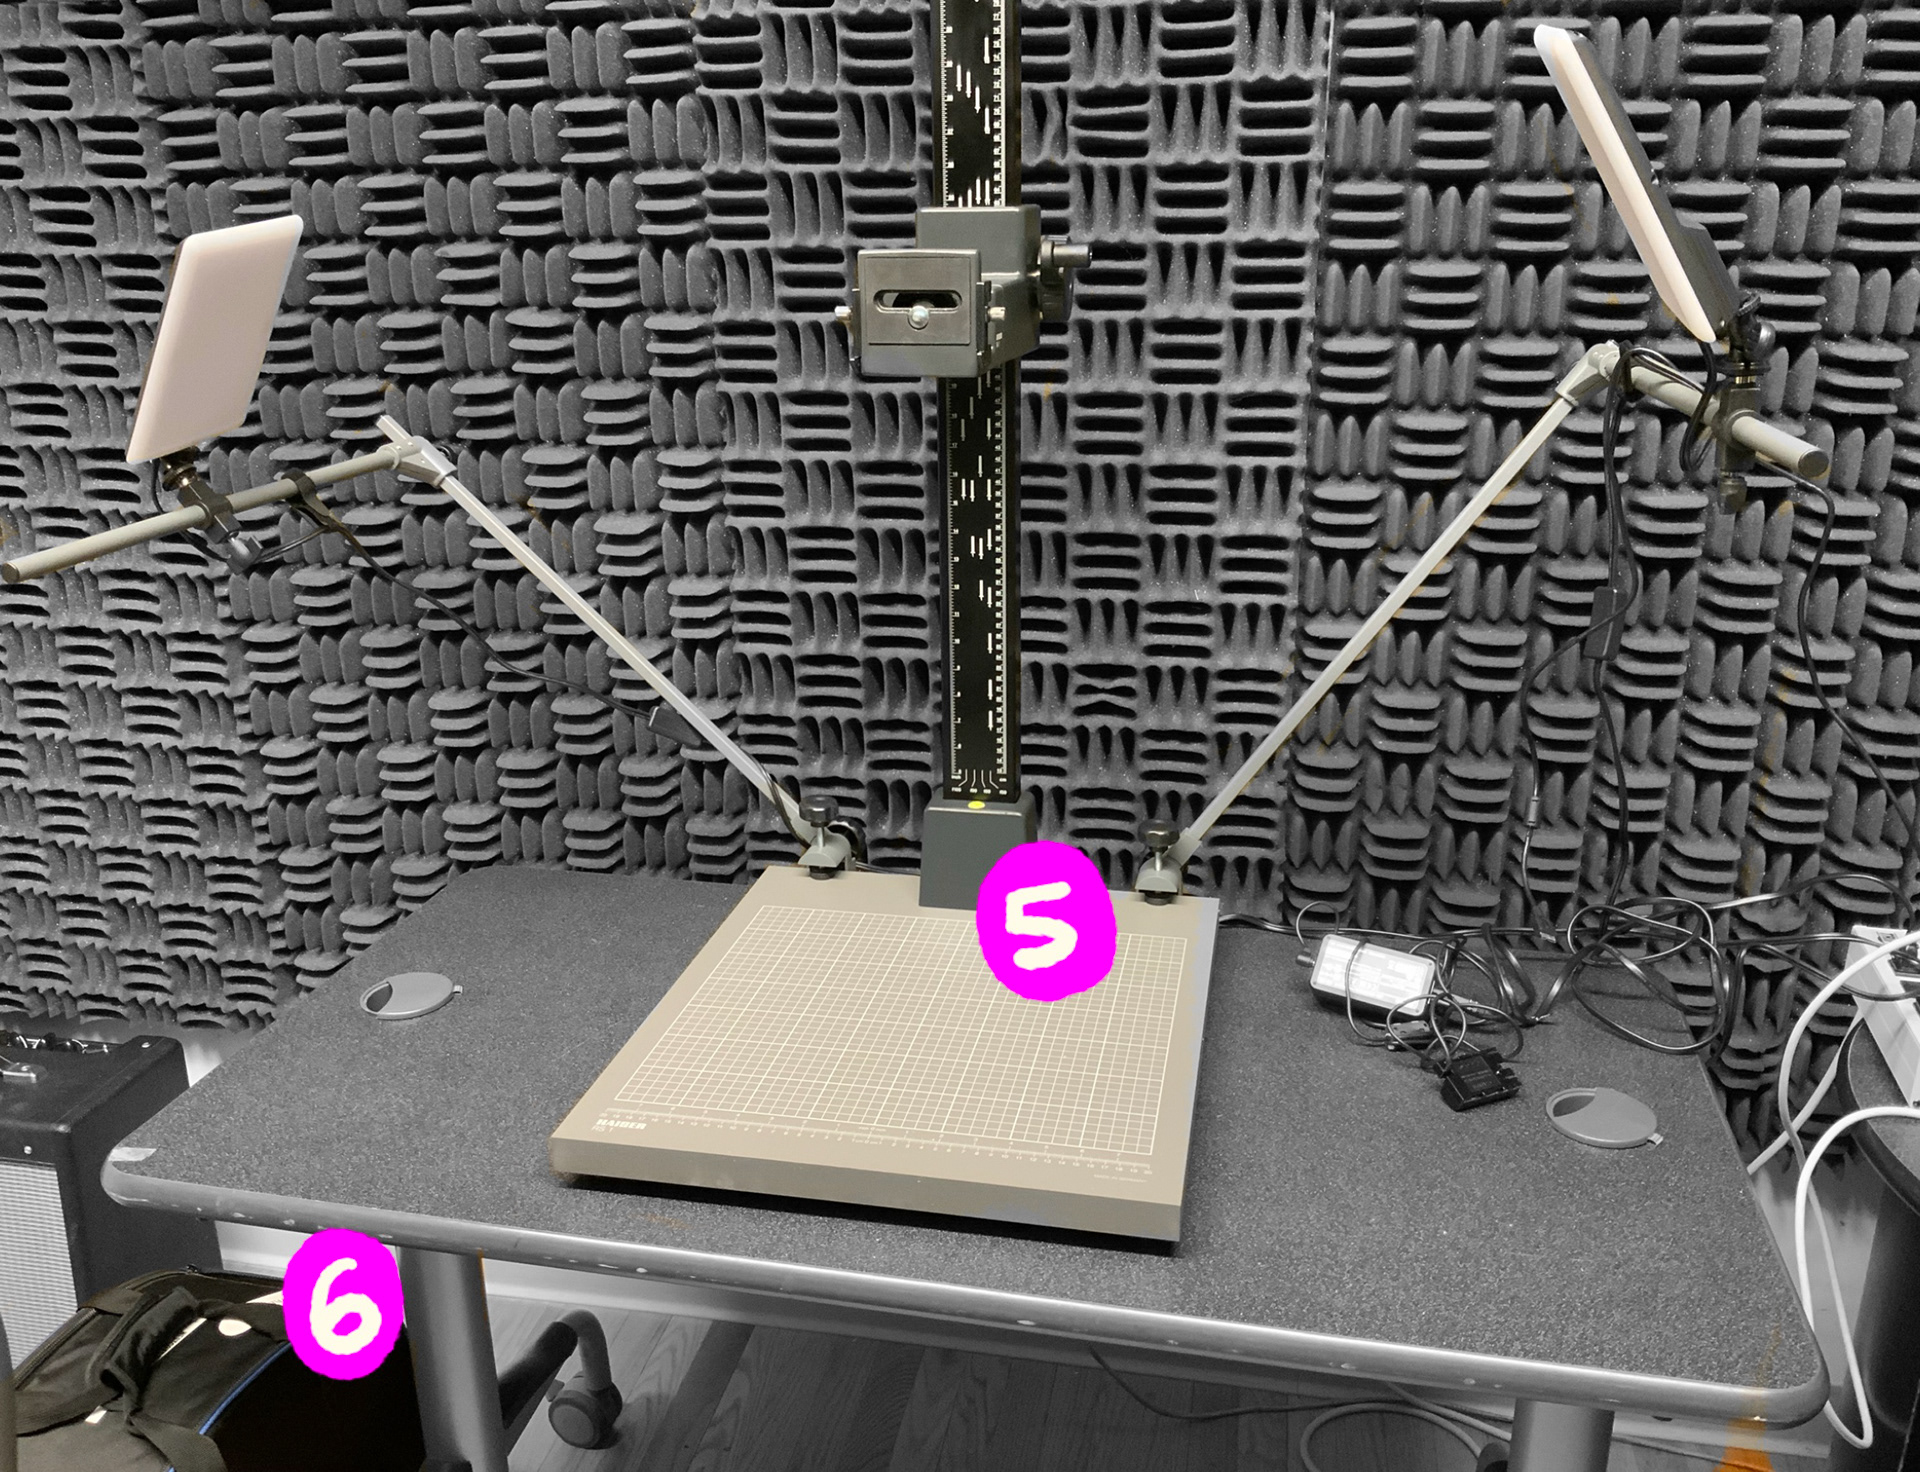
05. THE MULTI-PLANE CONTRAPTION
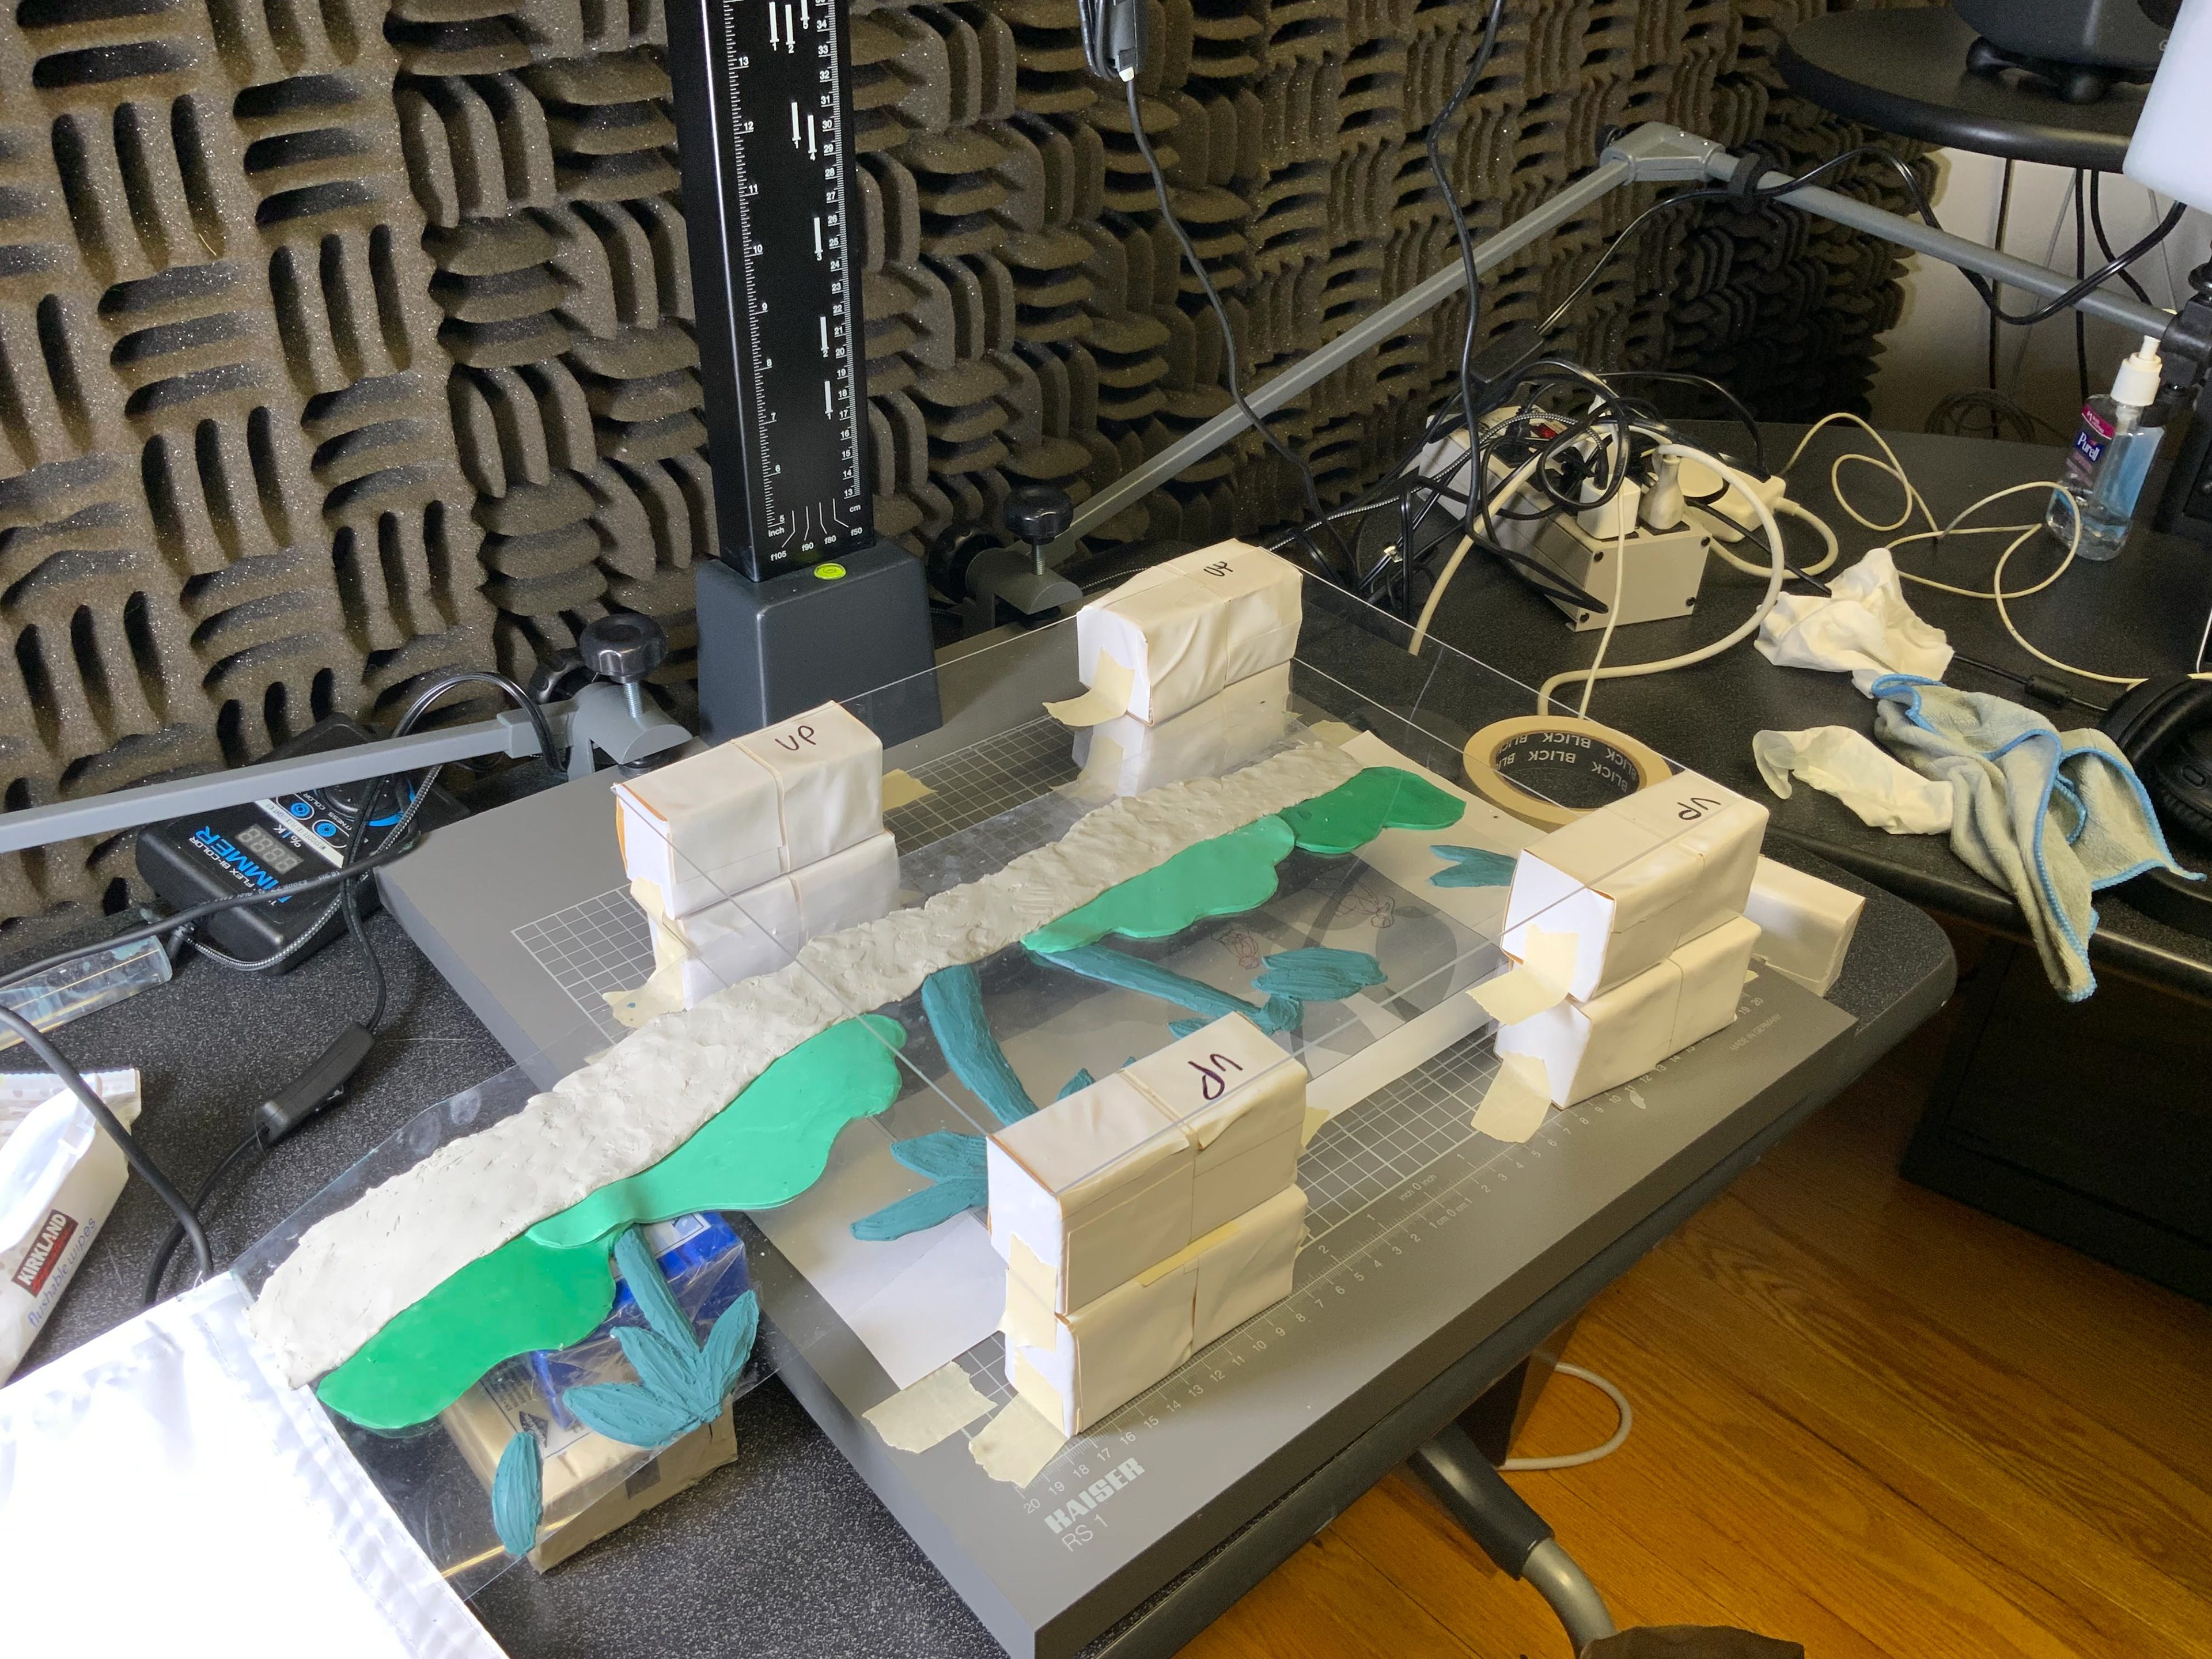
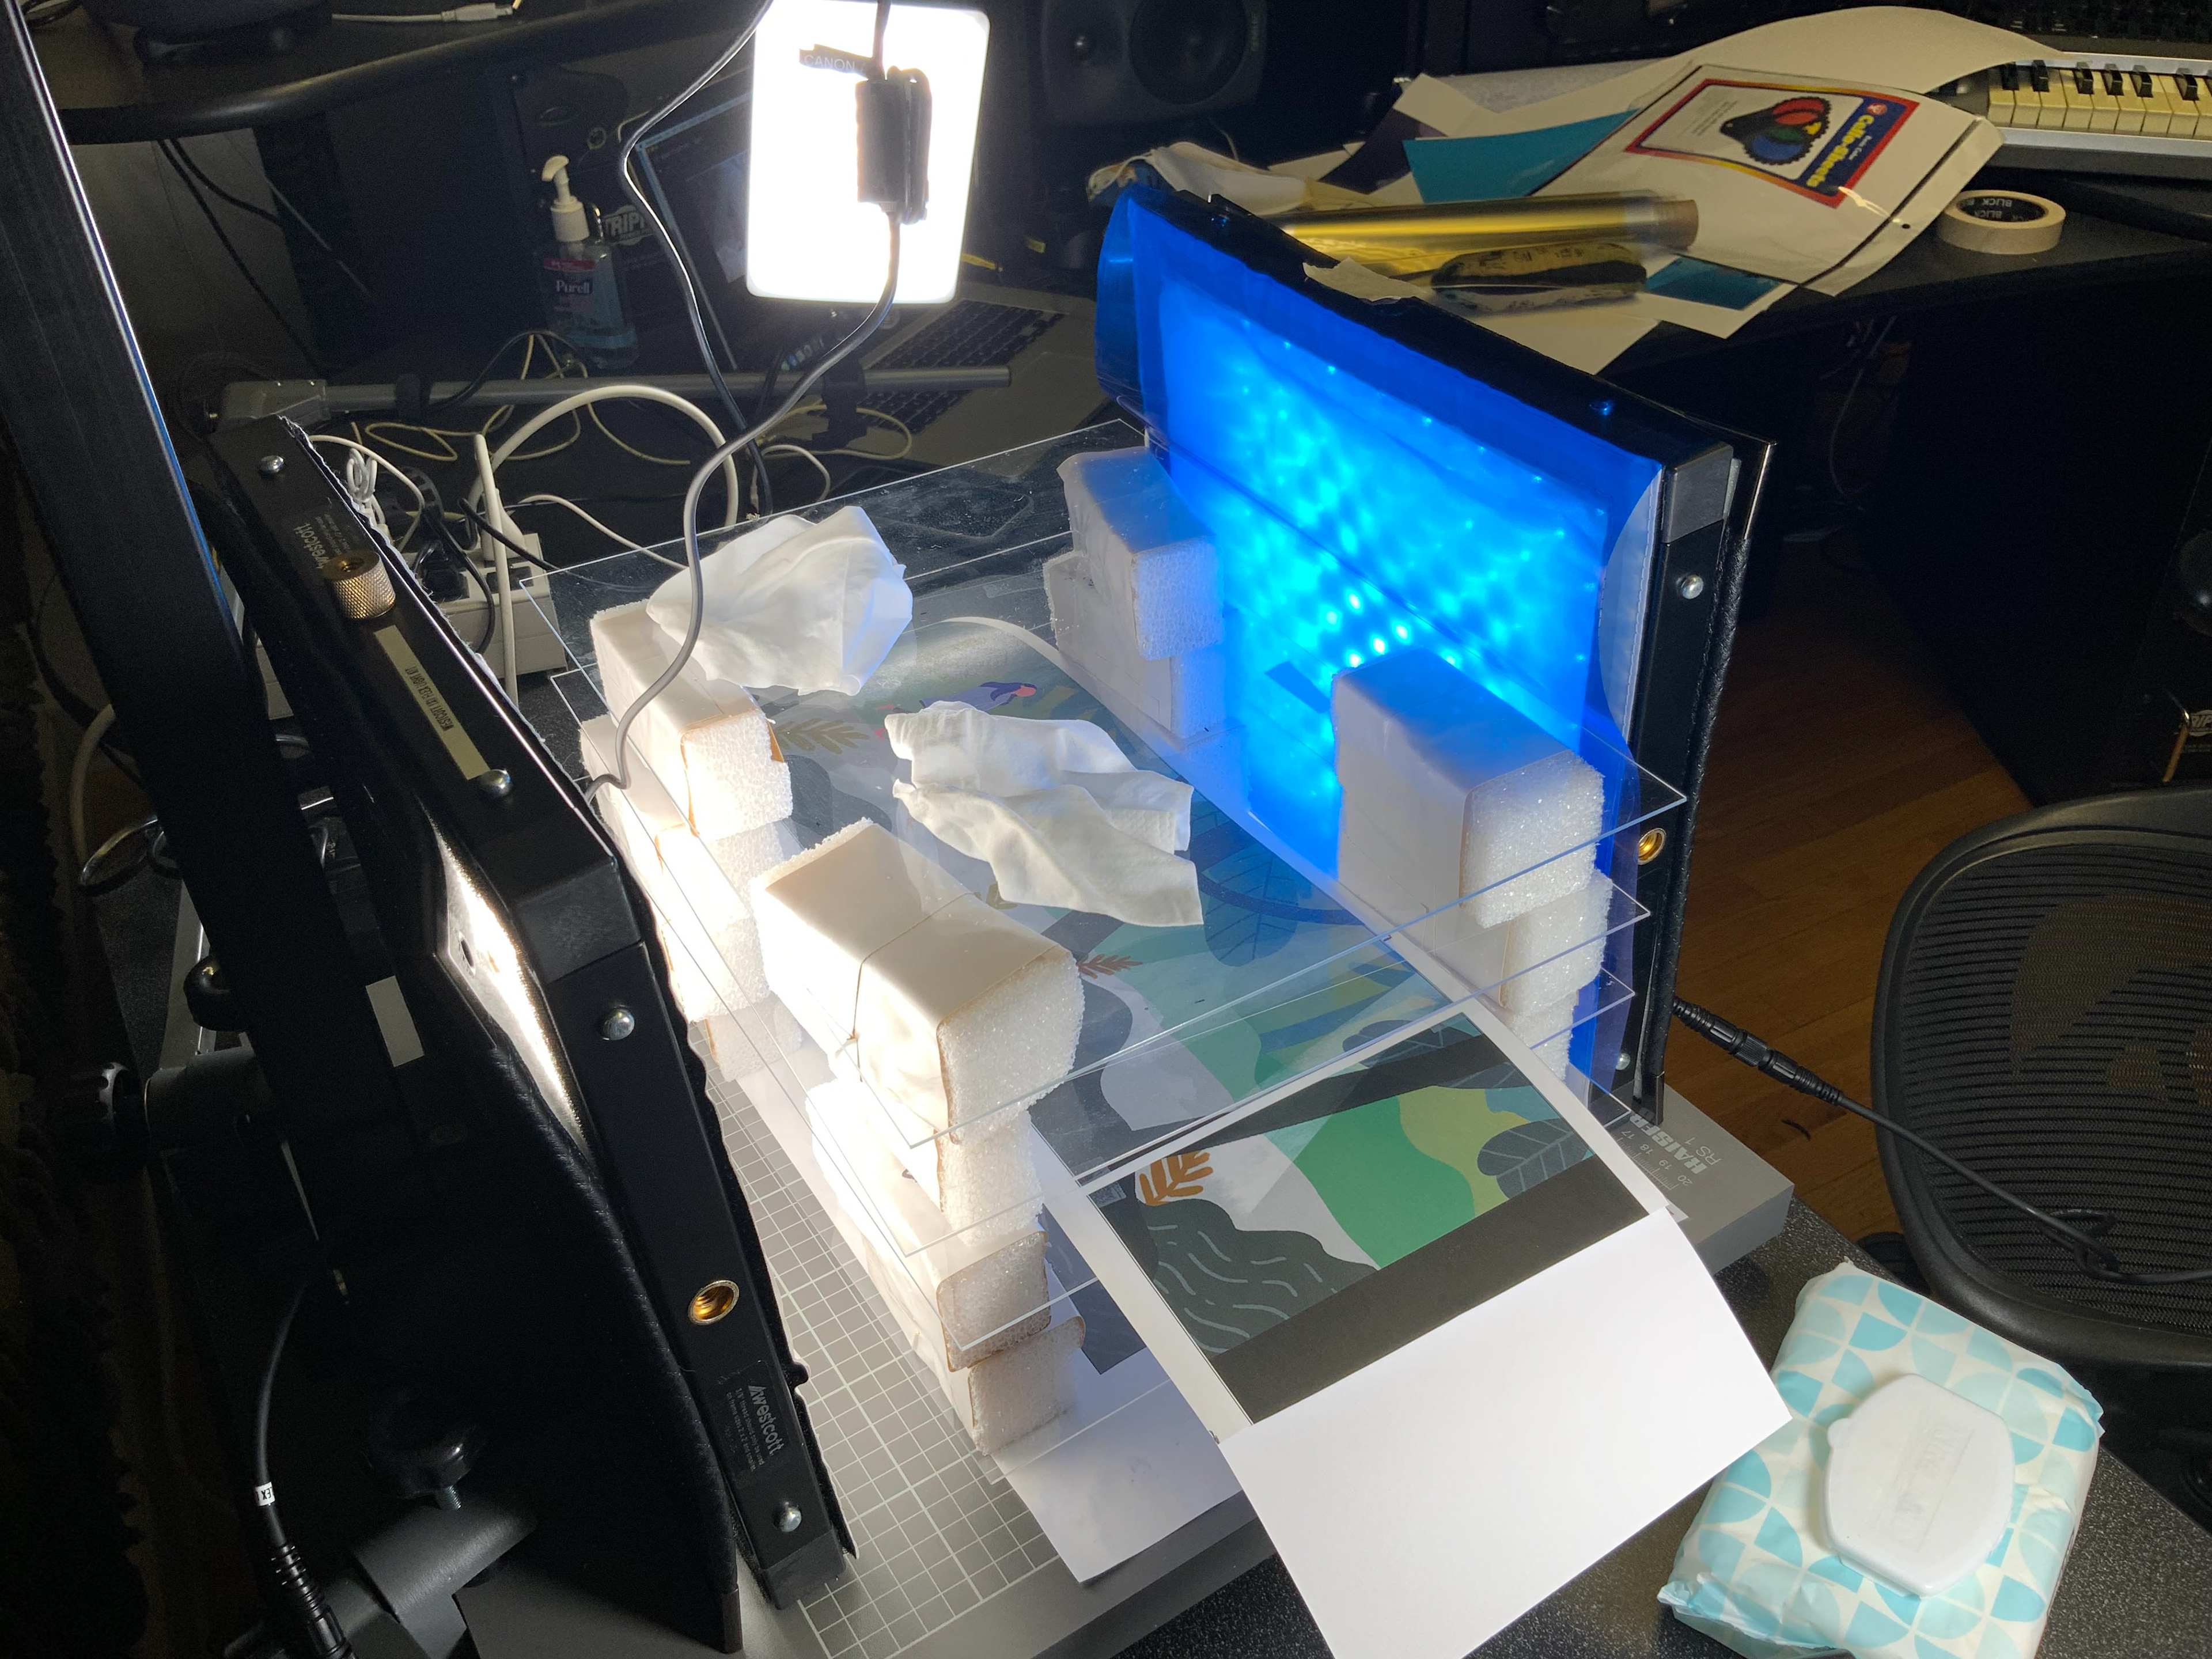
For the multiplane contraption, I bought a set of transparent plexiglass on Amazon and stacked them up using little blocks I made out of Styrofoam. This was going to be a low-budget project from the get-go so all I cared about for this contraption was that the planes would stay level, and that there would be enough space between the planes for me to swap out the the frames and other elements. I bought a couple of Styrofoam blocks and broke them into smaller pieces, which I then wrapped around with duct tape to keep the grains from flying all over the place.


06. CLAY ENVIRONMENTS & ELEMENTS
I made the clay elements in the studio right before shooting because I knew it was going to be a challenge carrying them from elsewhere. To make it easier to move the clay elements across the plexiglass, I laid them out on a piece of long transparent film based on the print-out from STEP 03.
Apart from making clay background elements, I also had to prepare frames for the 9-frame transition from Part 01 to Part 02 where the water splash turns into clay.
This entire clay-kneading process was a part I grossly underestimated time for - also, mixing clay to make new colors is such a workout?!?!?! Perhaps because the clay was oil-based (which is great, because that’s what makes it not dry out), my workspace got greasy and messy real fast. Out of the three days I booked the studio for, this ended up taking me the first full day.
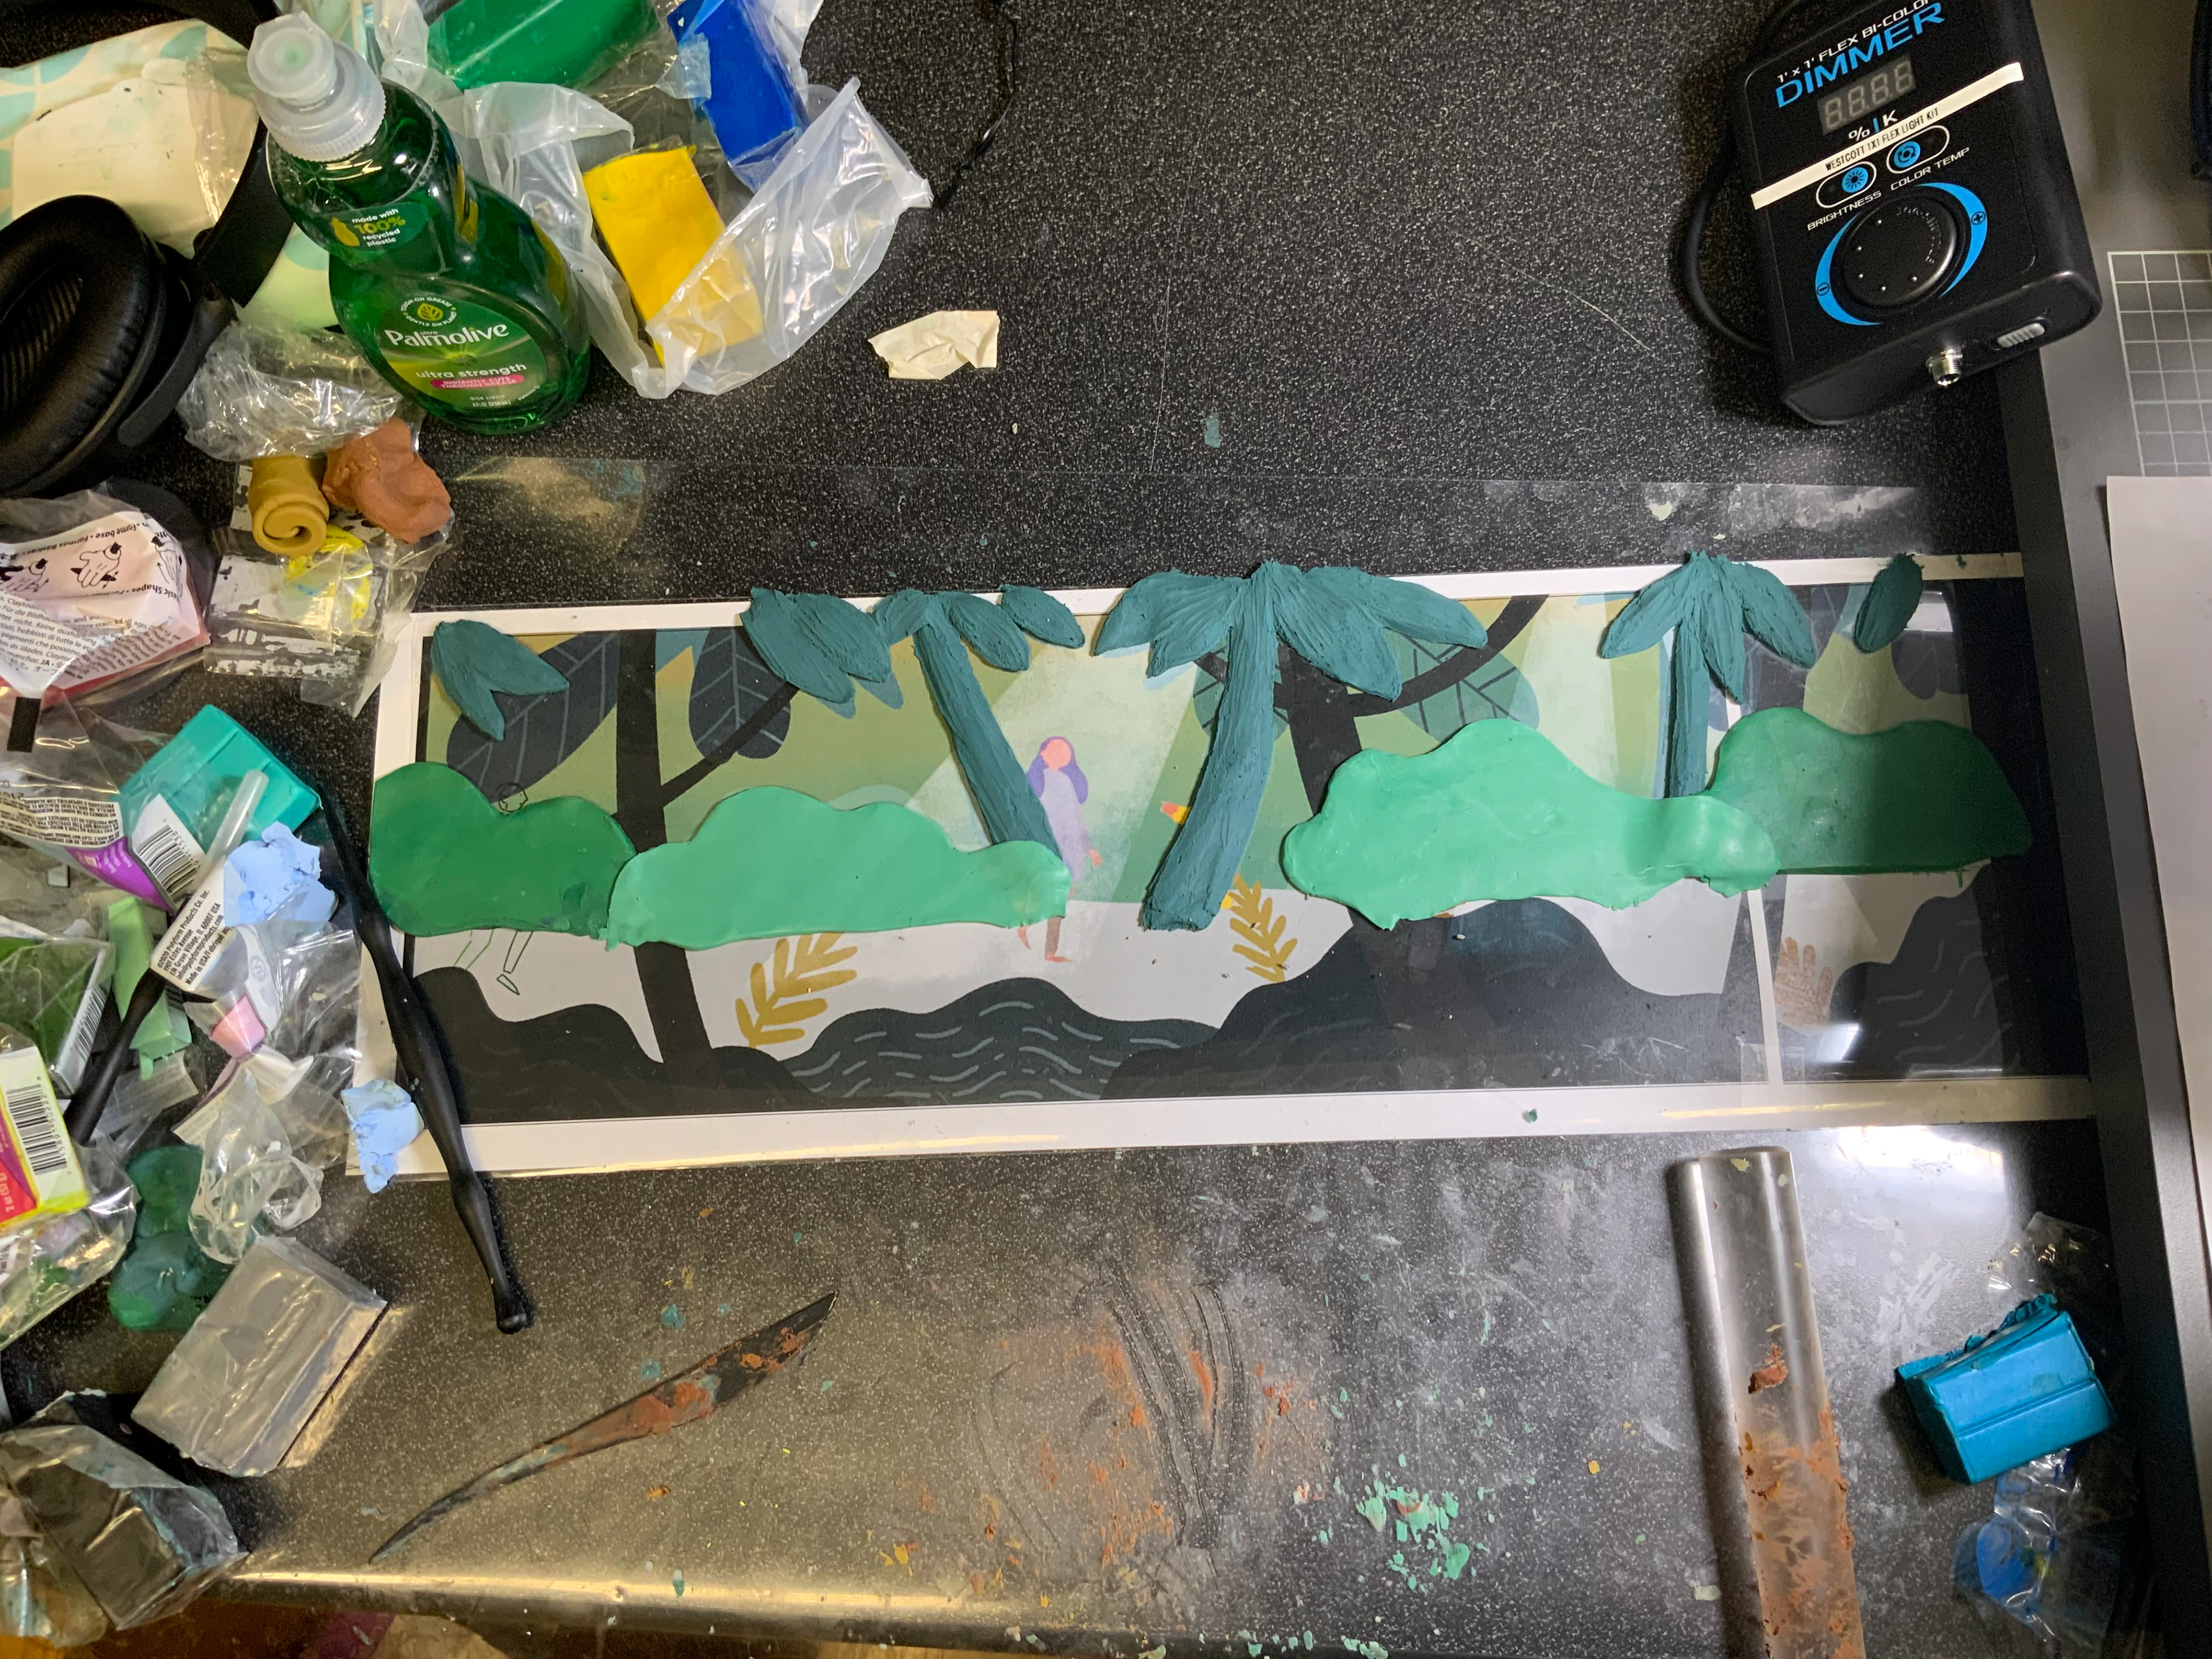

And of course, I couldn't forget the soft pastel gradient backgrounds...
07. SHOOTING
FINAL-FREAKING-LY, the actual stop-motion part:
LIGHTING
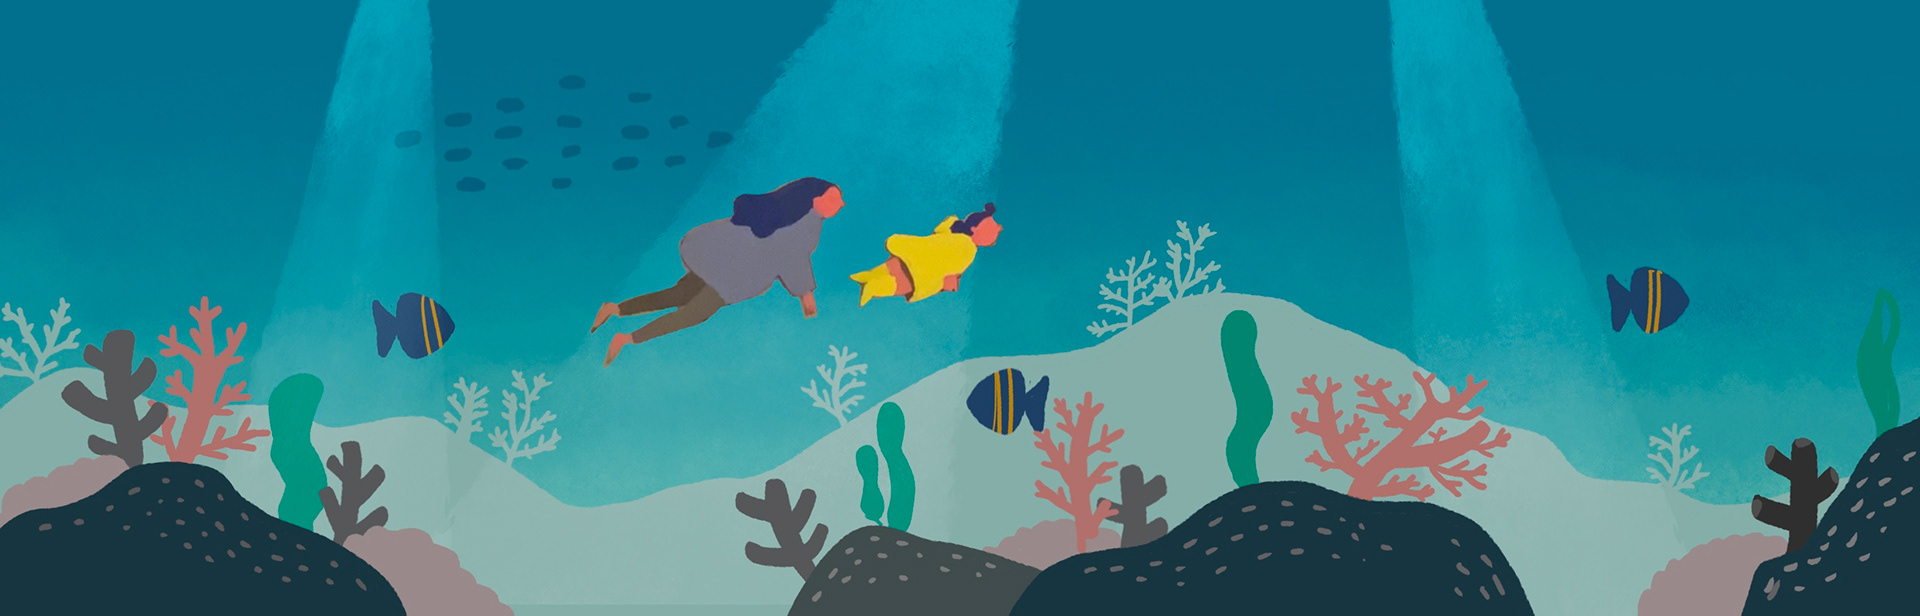
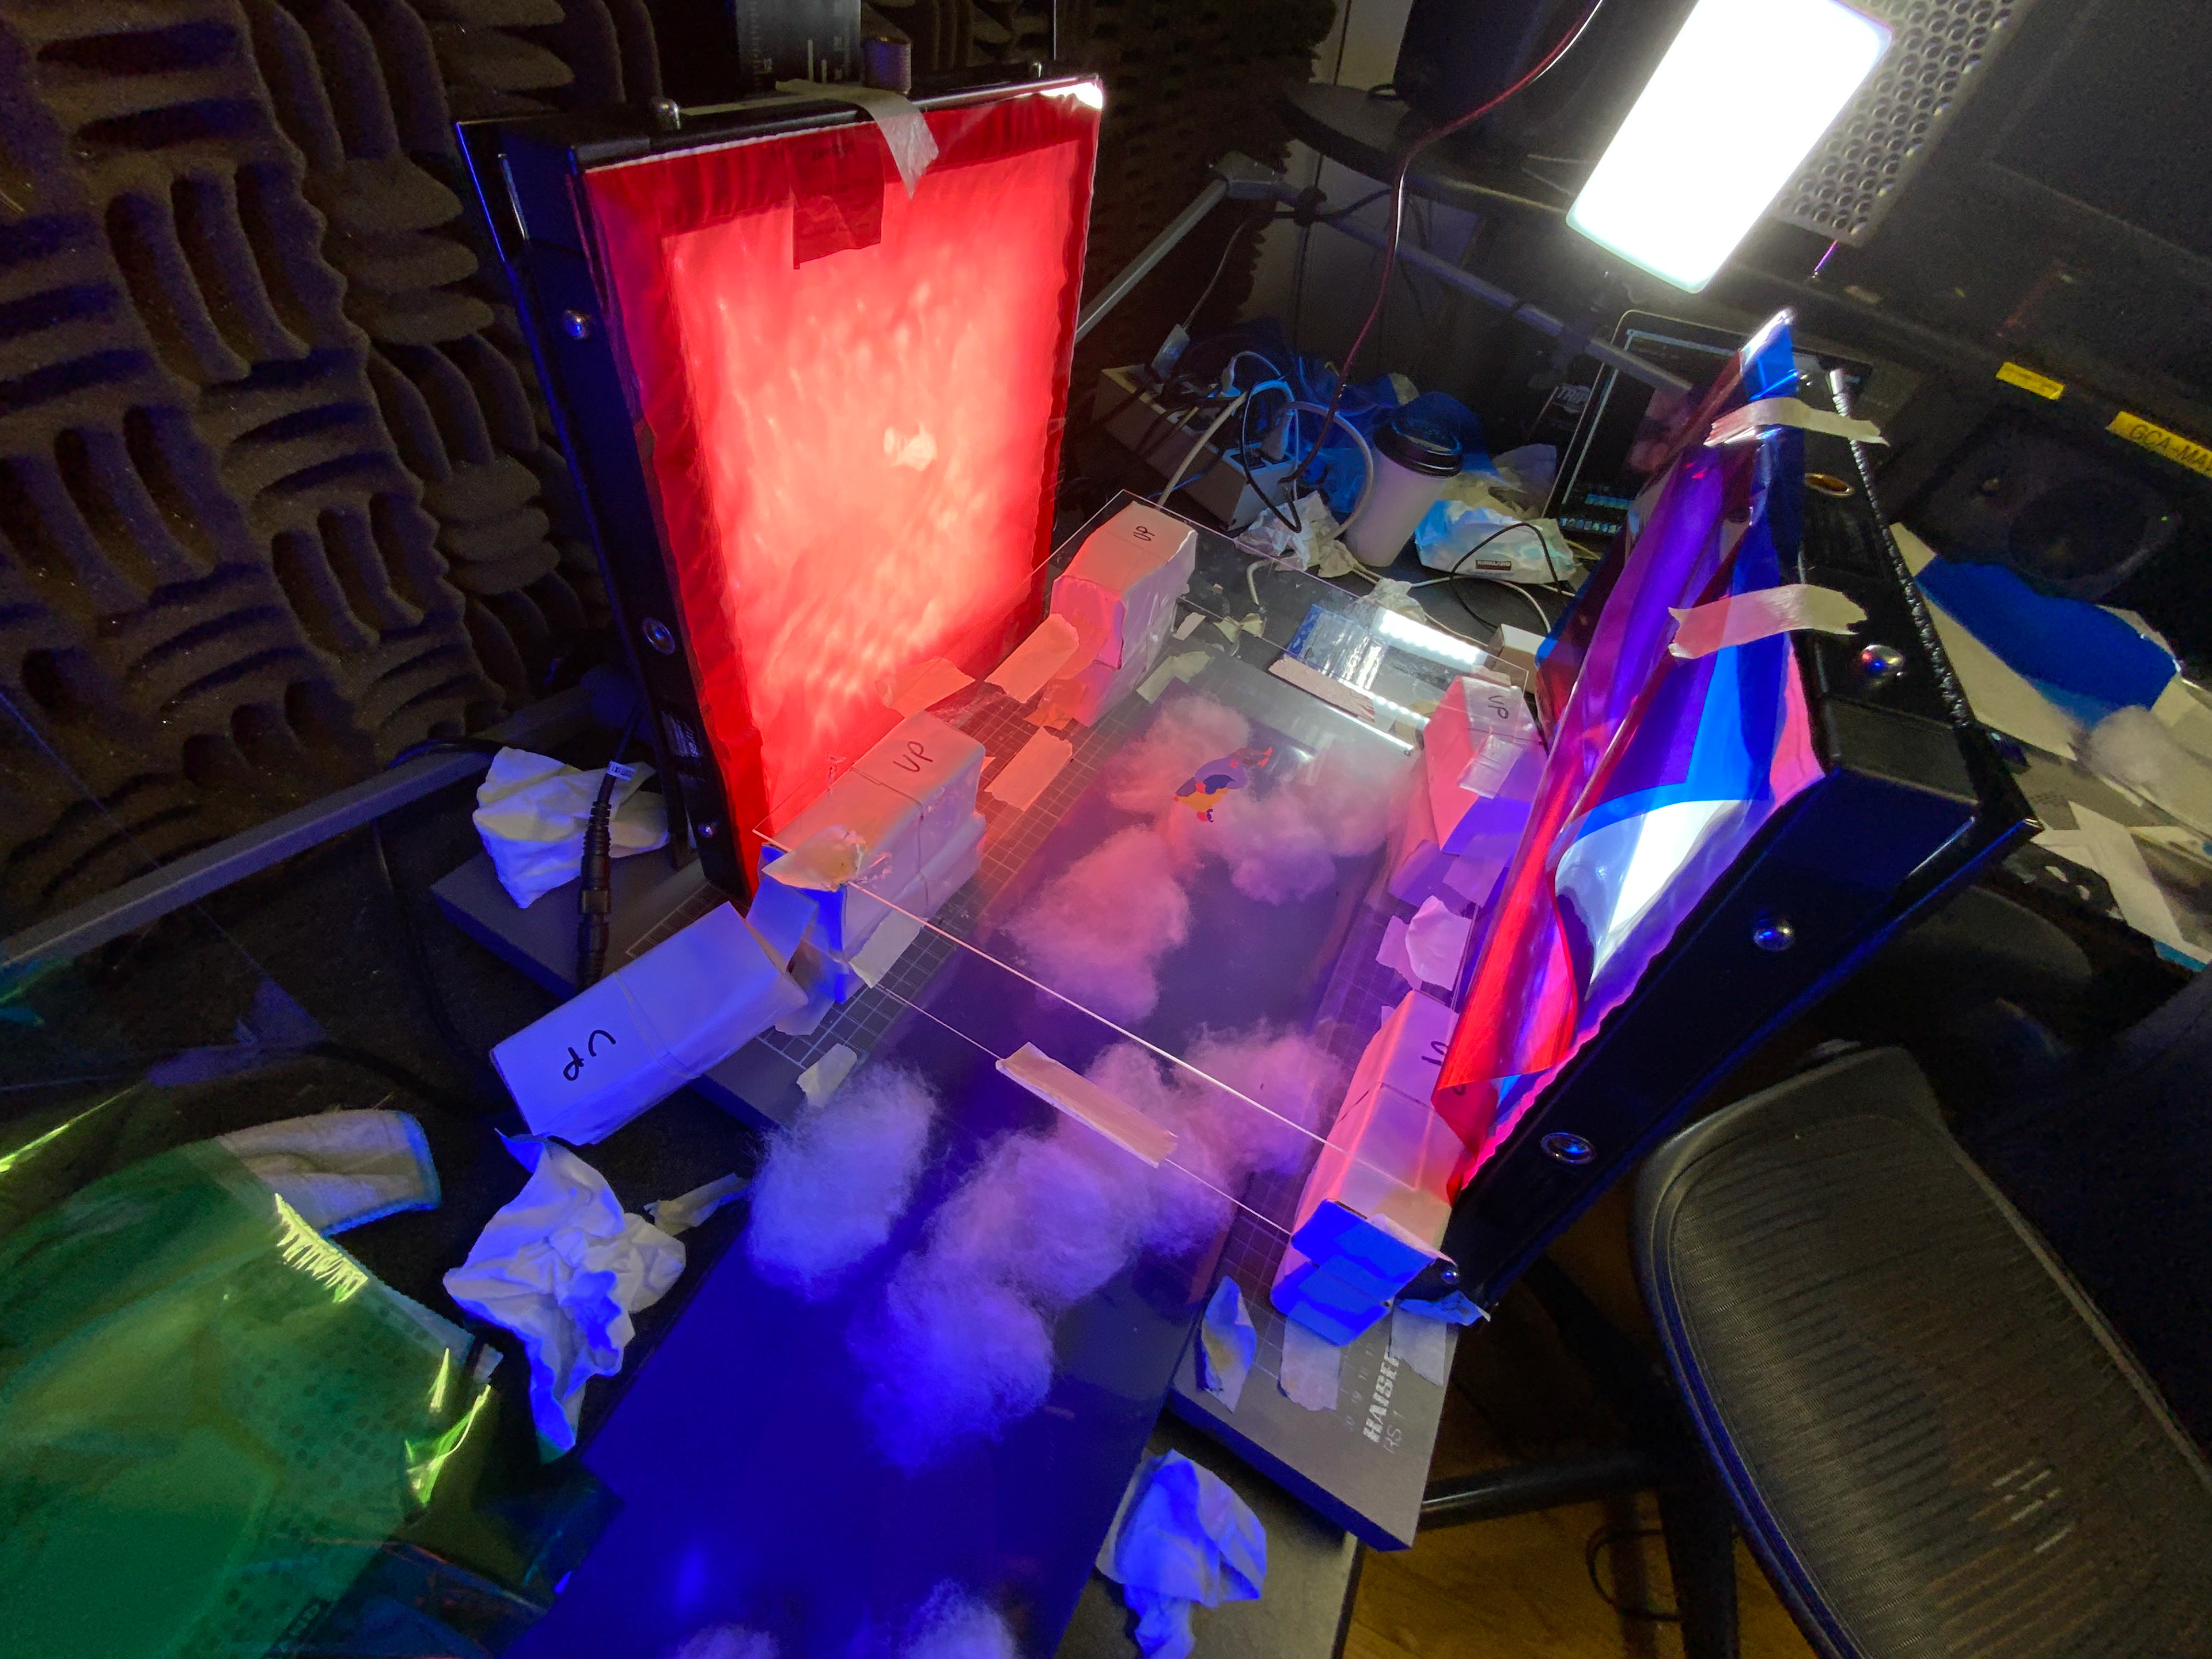
The real demon you’re up against in this process is none other than reflection and dust. All the multi-panel animation related videos I saw on YouTube had already warned me of this, but experiencing the struggle first hand was another level. After multiple iterations of lighting arrangements, removing an overhead light source helped eliminate some glaring reflections and instead relying on side lights worked the best. Also, I was glad I had multiple light sources, some of which I could control the intensity and temperature, to be able to fine-tune the most effective lighting setup. I played around with colored cellophanes as light filters to add a textural dimension, which I think worked especially well for the underwater sequence.
BEWARE OF DUST
Try taking a HD picture of a plain surface with great lighting and you’ll see how much dust we live with. I tried with my limited abilities to clear the planes free of dust as much as possible (i.e. latex gloves to minimize fingerprints) - but deeper I got into the process and the anxiety of finishing on time grew, I pulled the classic “I’ll fix it in post” and marched on. I will regret this decision in the later steps - stay tuned.
PLACE, SHOOT, REPEAT
I taped the corners of where each transparency film would be placed on the plexiglass, which made it super easy to swap out the frames without having to worry about aligning the registration marks. In moving the clay planes every frame, I referred to my guides but generally eye-balled how incrementally I moved them. Seeing the images real time on Dragonframe made it easy to decide if I should reshoot or move on. Once I got the hang of this process, I was even able to go on auto-pilot mode as I cranked out the stop-motion.
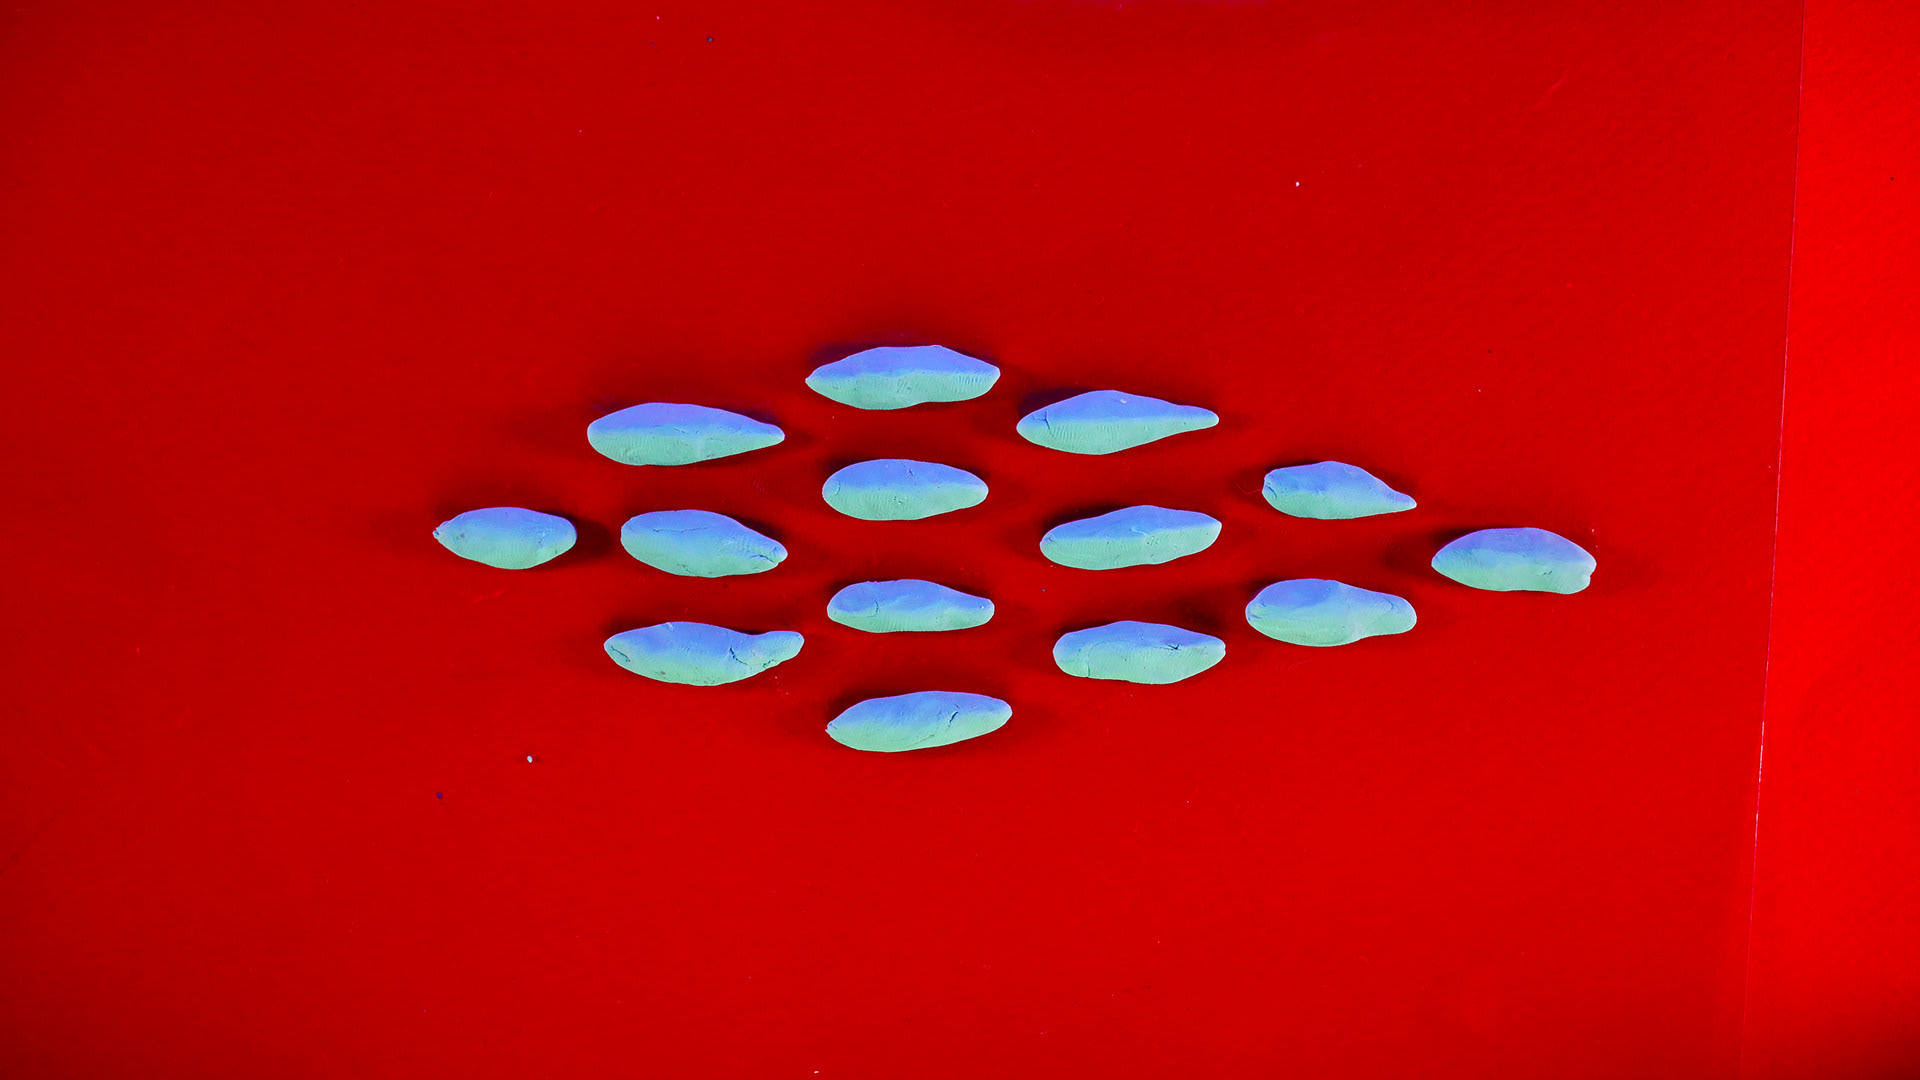
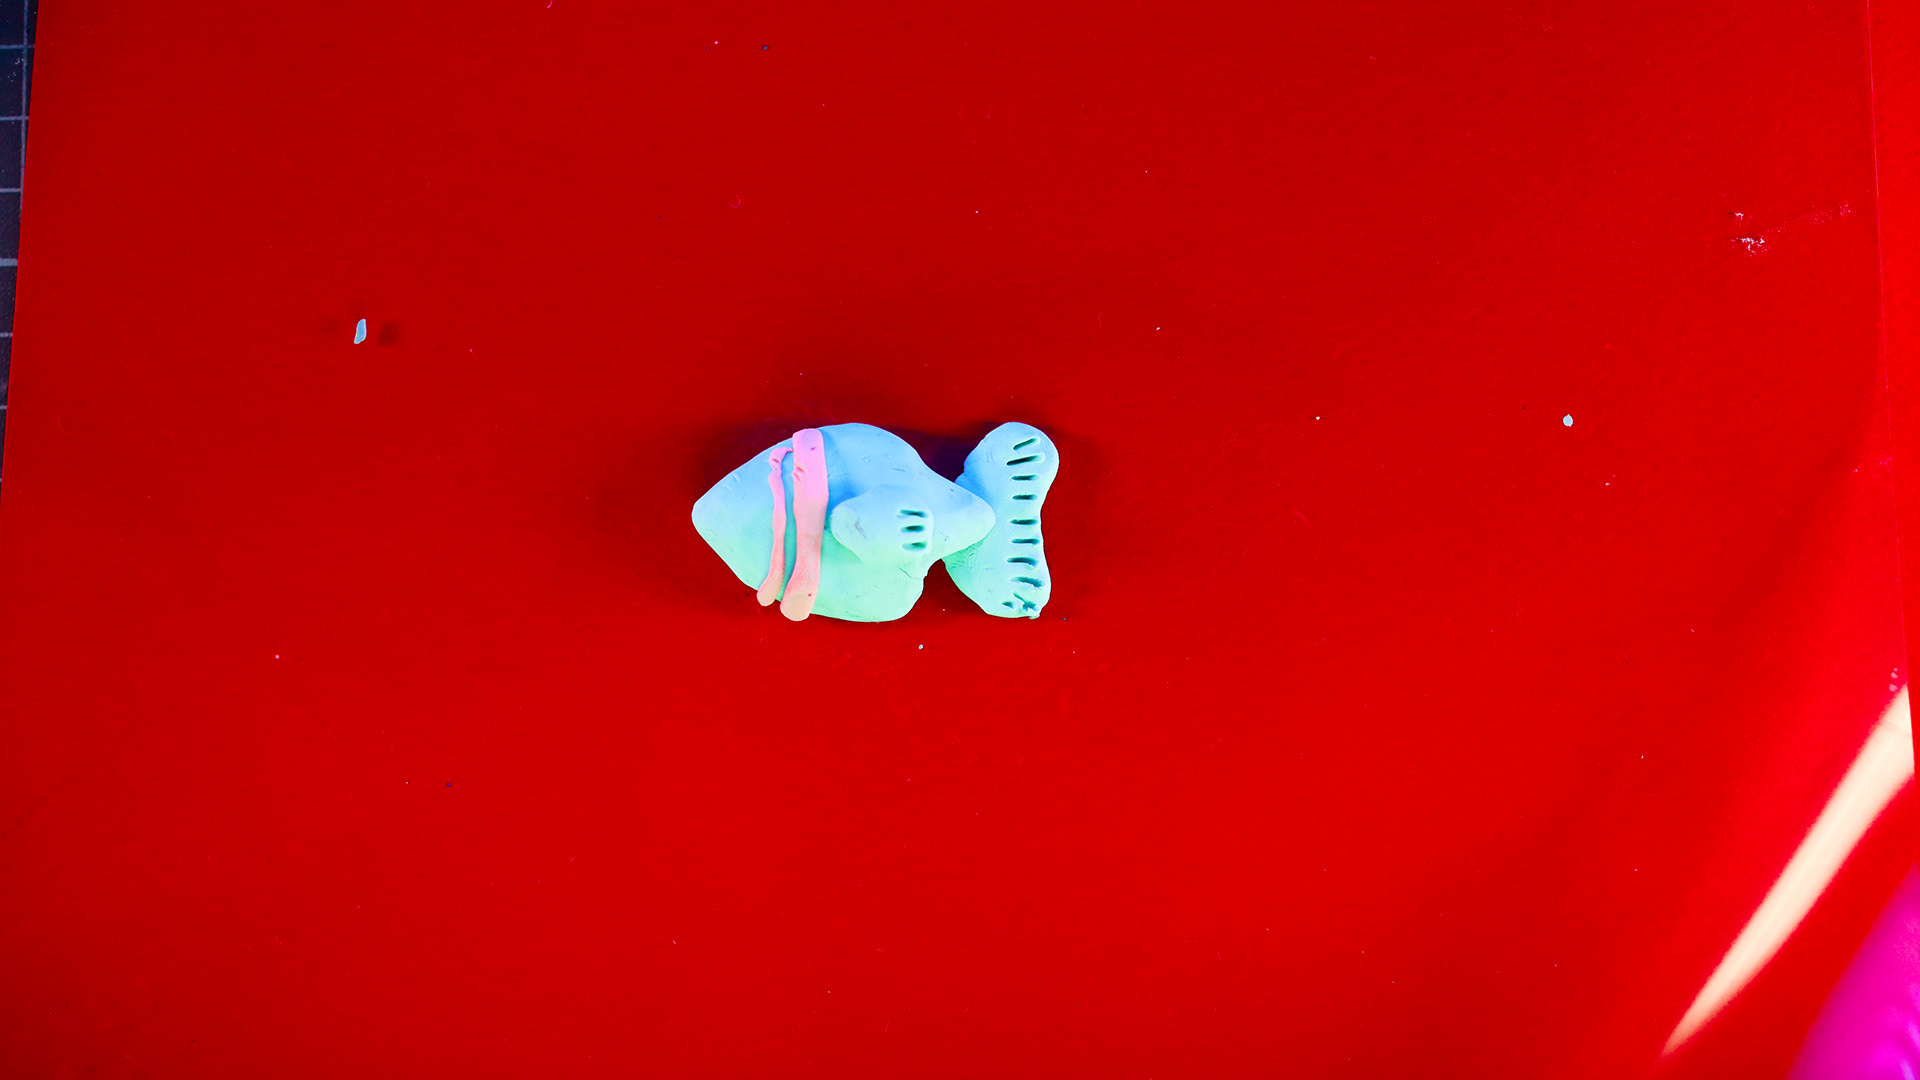
Aside from shooting the main sequence, I also made and shot clay fish on a “green screen” I could animate as separate elements. My green screen was a red colored paper since my element was practically blue/green.
08. PHOTO CLEAN-UP: REAP WHAT YOU SOW
Once I was done with shooting, I thought all there was left was the fun part - color correcting the batch in Adobe Lightroom and seeing the stop motion magic come to life. However, with the images blown up on a 4K screen, the crisp pictures exposed all the messy clay scraps and fingerprints with a glaring conviction. And thus cleaning up the blemishes for all 100 images began. Where would we be as a civilization if it weren’t for the mighty Stamp Tool?
09. COMPOSITING
The final compositing came together rather quickly.
For the clay fishy, I masked out the greenscreen, made a comp of it moving horizontally, and then tracked it on one of the background/foreground elements so that the camera movement wouldn’t affect its position.
With a little bit of fine-tuning with adjustment layers, the sequence was ready to go!
There were only two moods in this entire process:
Productivity & Contemplating life choices